Welcome to your go-to DIY retaining wall guide for NZ homeowners and weekend renovators. Whether you’re looking to level out a sloped backyard, prevent soil erosion, or simply improve your garden layout, building a retaining wall yourself can be a rewarding project—if done right. In this guide, you’ll learn everything you need to know, from New Zealand’s building consent rules to step-by-step instructions, material options, and common mistakes to avoid. It’s written in plain language, designed for everyday Kiwis, and packed with practical tips to help you build safely, legally, and confidently.
To build a DIY retaining wall in NZ, start by checking if council consent is needed (usually required for walls over 1.5m). Choose durable materials like timber or concrete blocks, dig a solid trench, set posts securely in concrete, and add proper drainage behind the wall. Always build on level ground and use treated timber to prevent rot. For most backyard projects under 1.5m, you can build it yourself without a permit, as long as it’s safe and well-drained.
- Do You Need A Building Consent In NZ?
- Planning Your Retaining Wall
- Choosing The Right Materials For Your DIY Retaining Wall
- Tools And Materials Checklist
- Step-By-Step Guide To Building A Timber Retaining Wall
- Common Mistakes To Avoid
- Maintenance Tips To Make It Last
- When To Call A Professional
- Cost Estimate For A Small DIY Wall
- FAQs: About DIY Retaining Wall Guide NZ
- Conclusion
Do You Need A Building Consent In NZ?
Before you start digging or stacking timber, you need to know whether your retaining wall requires a building consent. In New Zealand, there are clear rules that separate DIY-friendly projects from those that legally require professional oversight.
Retaining Walls Under 1.5 Metres
If your retaining wall is 1.5 metres or lower and doesn’t support additional weight, such as a driveway, building, or sloped ground (also known as a “surcharge”), you typically don’t need a building consent. These types of walls are often built for garden edging or leveling out small areas in the yard and can be completed safely by a capable DIYer.
That said, every property is different. Soil conditions, proximity to boundaries, and how much weight sits behind the wall can affect safety. It’s still smart to do some homework before you start.
When A Building Consent Is Required
A building consent is required if any of the following applies:
- The wall is over 1.5 metres in height
- The wall supports a surcharge (like a driveway, structure, or steep slope)
- The wall is close to public property or a boundary fence
- The design includes complex features or unusual materials
- You’re in an area prone to erosion or landslides
If your project fits any of these conditions, it’s best to consult a qualified builder, structural engineer, or your local council.
Ignoring these requirements can result in safety risks, fines, or forced removal of the wall.
Why Professional Help Matters
Even if your wall is under 1.5 metres, certain jobs still benefit from professional input. For example, if you’re unsure about the soil stability or drainage, or if you’re working near underground services, getting expert advice can prevent costly mistakes.
Professionals can also ensure your wall complies with the New Zealand Building Code, especially when engineering sign-off is required. This is essential for peace of mind and future property value.
Where To Check The Rules
To get accurate information based on your location, check your local council’s website. Each council may have slightly different rules, especially around zoning or environmental overlays.
You can also visit these pages for official guidance:
- New Zealand Building Code – MBIE
- Auckland Council Building Consents
- Wellington City Council – Retaining Walls
Always confirm the rules before you begin. It could save you time, money, and stress later on. Knowing whether you need a building consent isn’t just about ticking boxes—it’s about building safely, legally, and with confidence. Taking the time to understand the rules can protect your property, avoid costly fines, and ensure your retaining wall lasts for years. If you’re ever unsure, a quick call to your local council or a licensed builder can give you the clarity you need before you start. It’s always better to ask first than to fix mistakes later.
Planning Your Retaining Wall
Building a retaining wall in New Zealand starts with smart planning. Before picking up a shovel, take time to map out the project properly. It’ll save you time, money, and frustration later. This section covers four key planning steps: choosing the right location and height, checking soil and drainage, considering boundary impacts, and calling before you dig.
Choosing The Right Location And Wall Height
Start by identifying where your wall is most needed. Are you holding back soil on a slope, creating a flat garden area, or preventing erosion near your home? The wall’s location should serve a clear purpose, not just look good. Avoid placing the wall where water naturally pools or where it may block access to essential parts of your property.
Next, consider height. In New Zealand, any retaining wall over 1.5 metres high may require building consent. Walls under this limit are generally fine for DIY projects, but check with your local council to confirm. Also, the higher the wall, the more structural pressure it must withstand. If you’re unsure, stick to a height you’re confident you can build safely.
Checking Soil Type And Drainage
Your soil type directly affects how stable the wall will be. Sandy soils drain well but shift easily. Clay holds water and expands, which can push against the wall. Ideally, you want compacted, well-draining soil. If you’re not sure what kind of soil you have, dig a small test hole and observe how fast water drains.
Drainage is just as critical. Poor drainage builds pressure behind the wall and causes it to fail over time. Plan for drainage materials like scoria, drainage pipes, and filter fabric. These will help water flow safely away from your wall and protect its structure.
Impact On Neighbors Or Boundary Lines
Before starting any digging, review your boundary lines. In New Zealand, many disputes happen because someone builds too close to the edge of their property. A general rule: keep the wall at least 500mm from a boundary unless you’ve agreed in writing with your neighbor.
If the wall will alter how land sits between properties, it might affect water runoff or soil stability on the other side. Talk to your neighbor early—especially if the wall might change how their land behaves. Transparency goes a long way toward avoiding conflict.
Call Before You Dig (Dial Before You Dig NZ)
New Zealand law requires you to check for underground utilities before digging. Hitting a power or water line can be dangerous and expensive. Use the BeforeUdig service to request plans of buried cables or pipes in your area.
It’s free and easy to use. Enter your project details, select your address, and you’ll get notified if any utility providers have lines under your dig site. This simple step can prevent serious setbacks—and protect your safety.

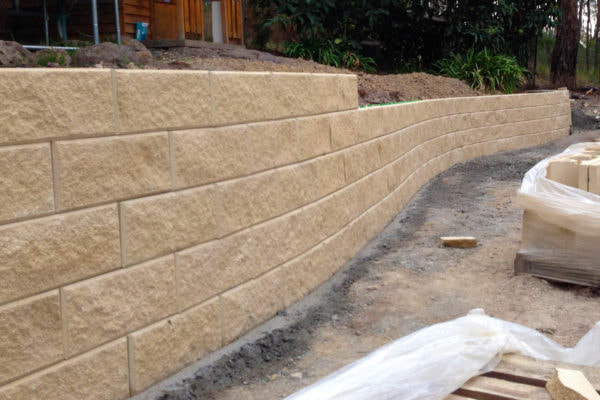
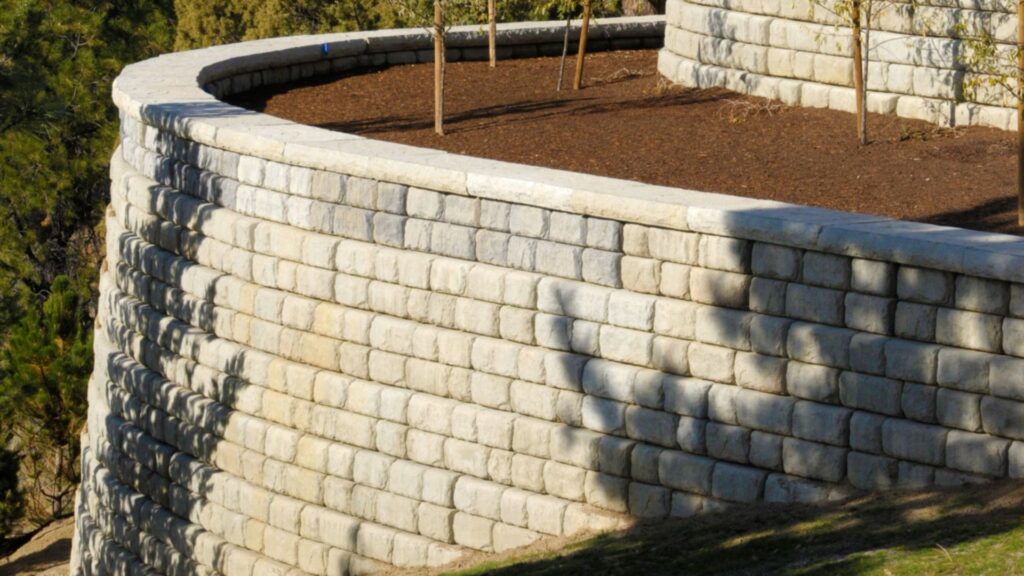
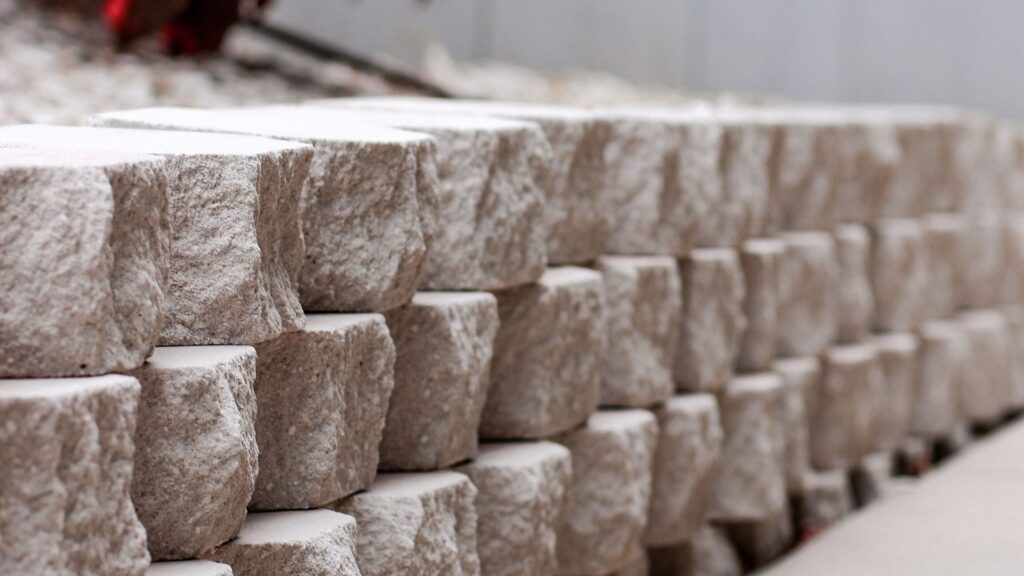
Choosing The Right Materials For Your DIY Retaining Wall
When planning your retaining wall project, one of the most important decisions you’ll make is choosing the right material. The type of material you select affects everything—durability, cost, appearance, and the difficulty of construction. In New Zealand, several popular options work well for different styles, budgets, and property types.
Here’s a breakdown of the most commonly used materials for DIY retaining walls, along with their pros, cons, and estimated costs.
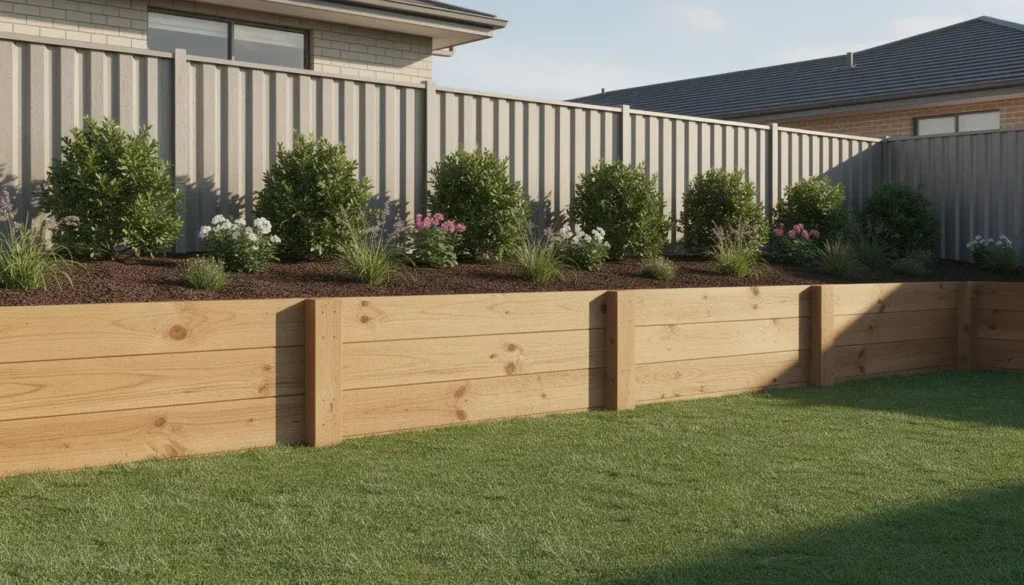
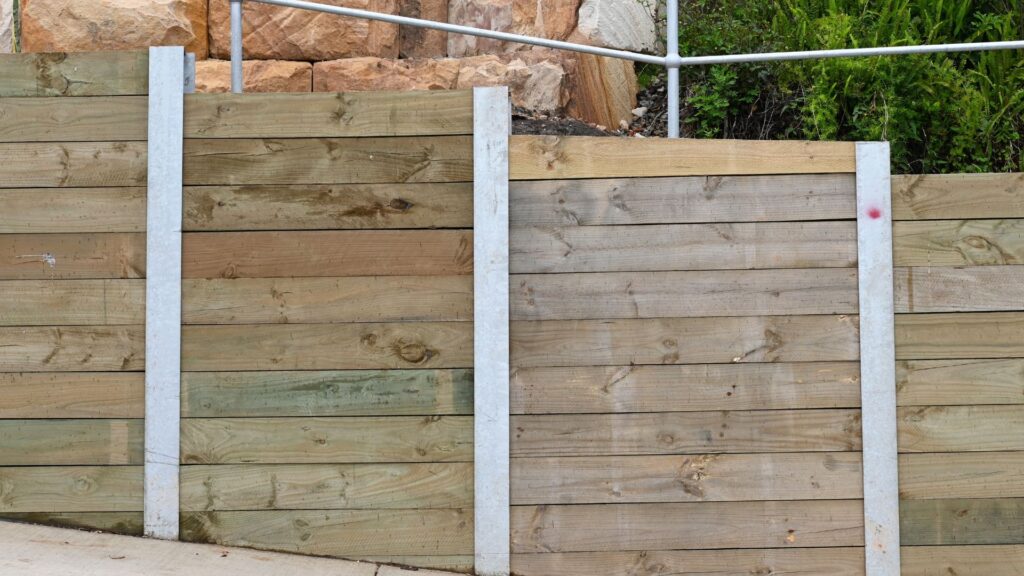
Timber (Pine, Macrocarpa)
Timber is a go-to choice for many Kiwi homeowners. It’s widely available, easy to work with, and ideal for smaller projects under 1.5 metres in height.
Pros:
- Affordable and cost-effective for short to medium-length walls
- Lightweight and easy to handle with basic tools
- Readily available at most hardware stores in NZ
- Gives a natural look that blends well with gardens
Cons:
- Requires treatment (H4 or higher) to prevent rot and insect damage
- Shorter lifespan compared to stone or concrete (usually 15–25 years)
- Needs ongoing maintenance like sealing or staining
- Can warp or split if not installed properly
Estimated Cost: $45–$85 per metre (materials only)
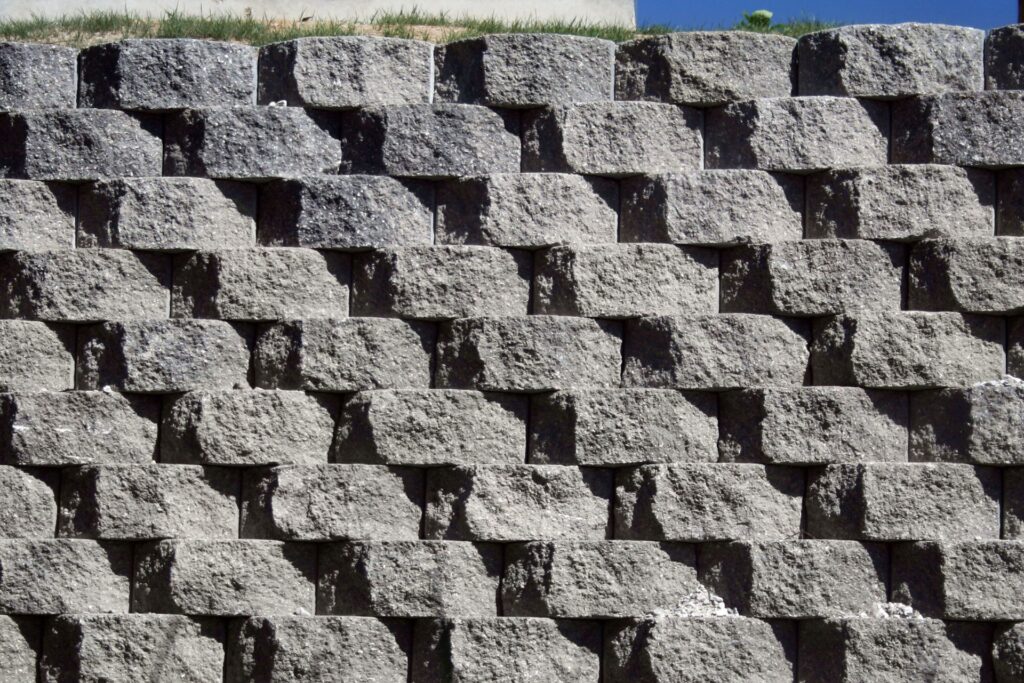
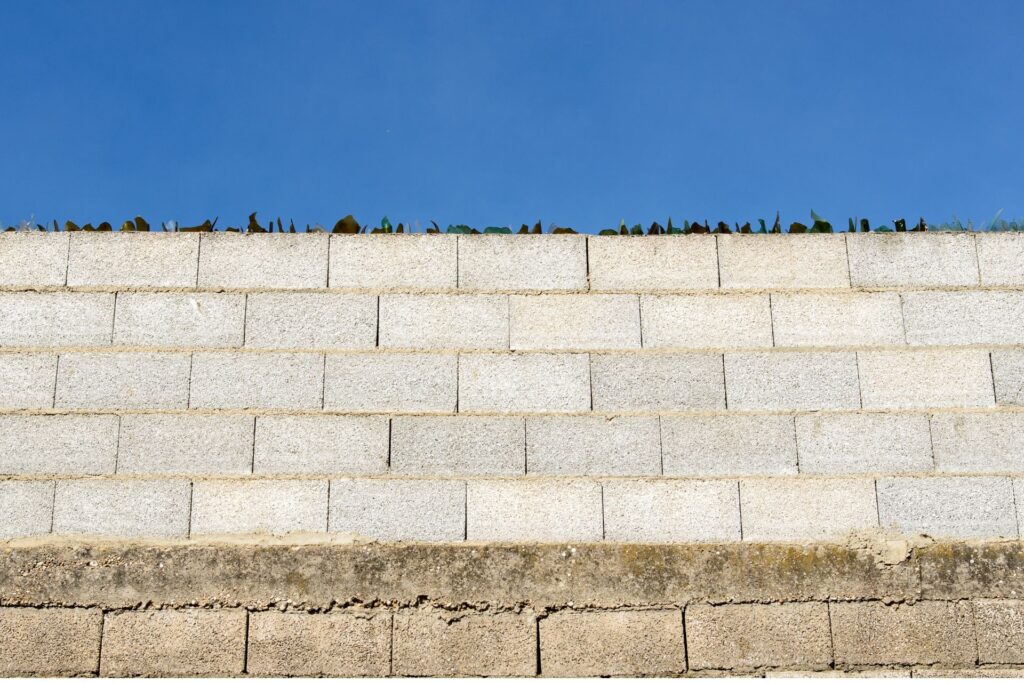
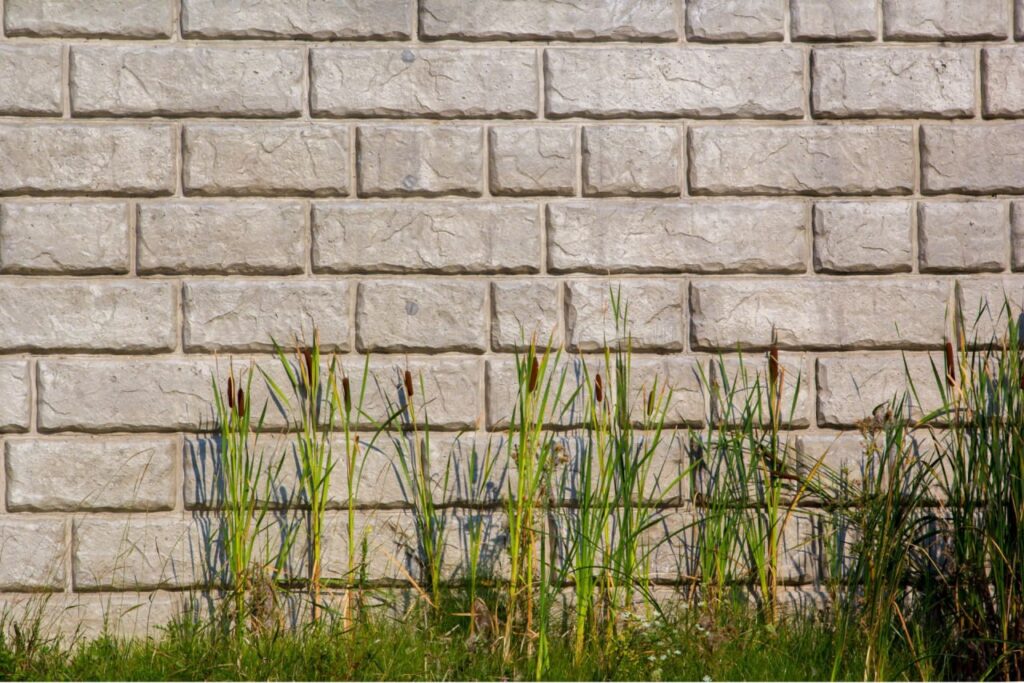
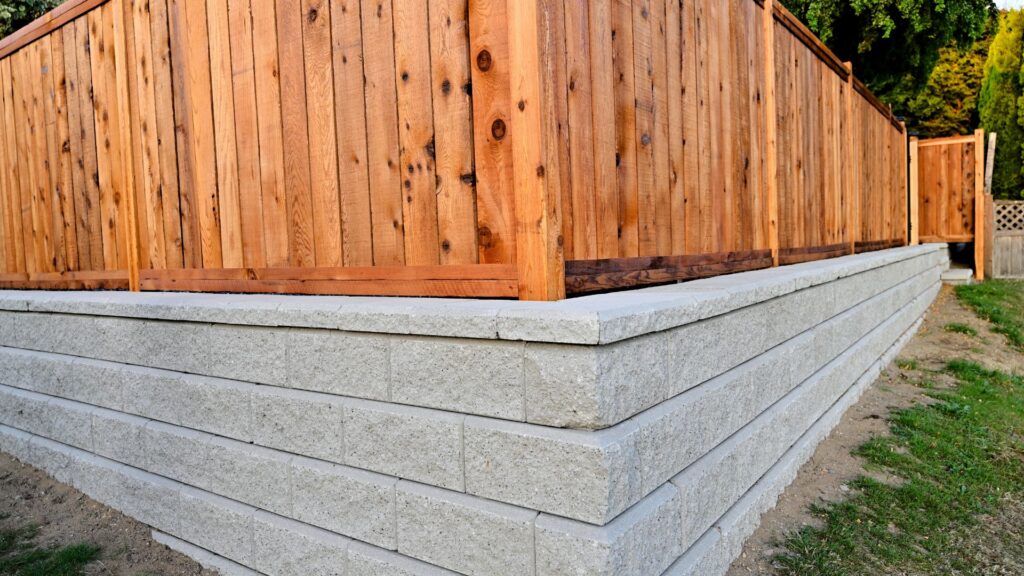
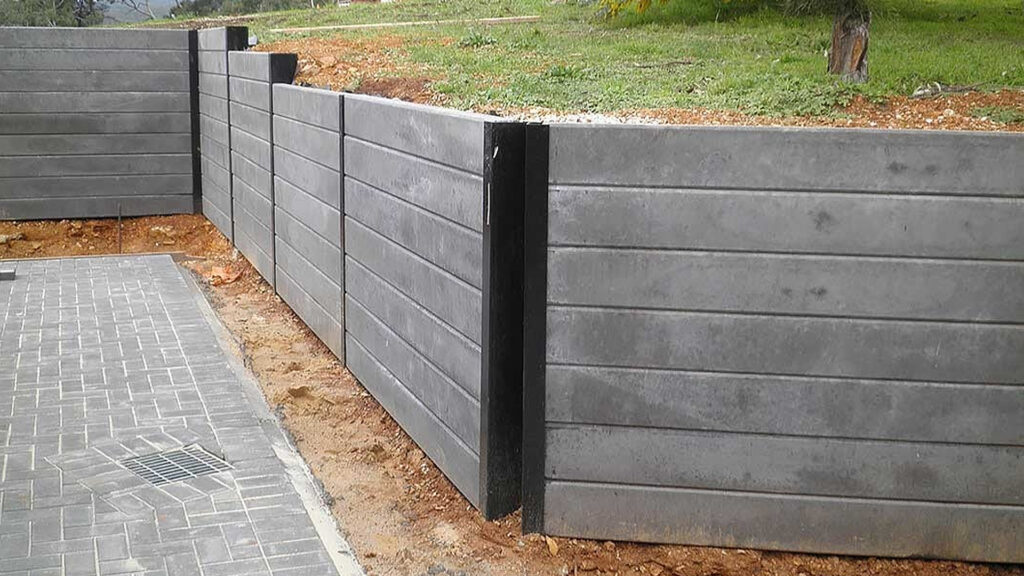
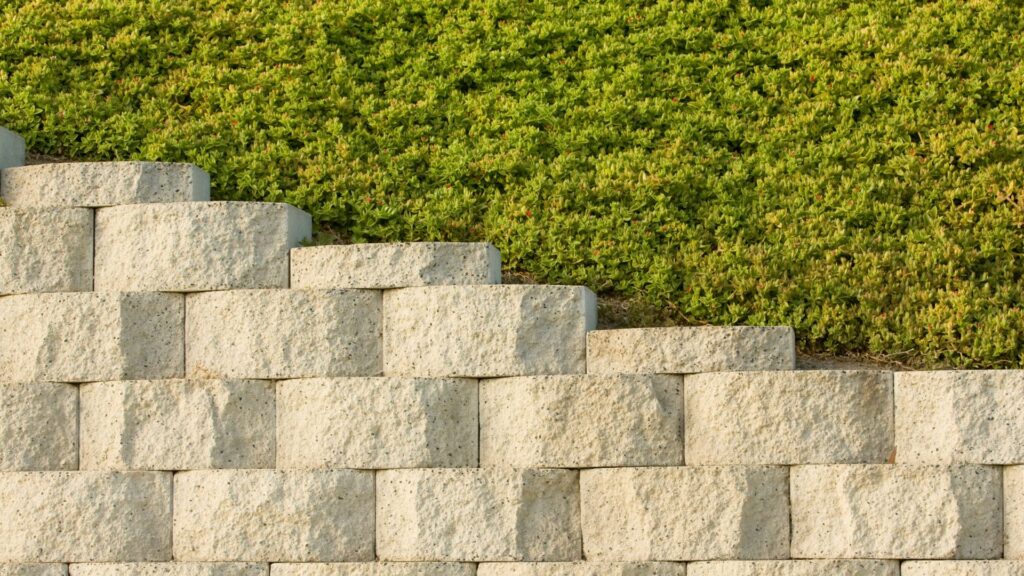
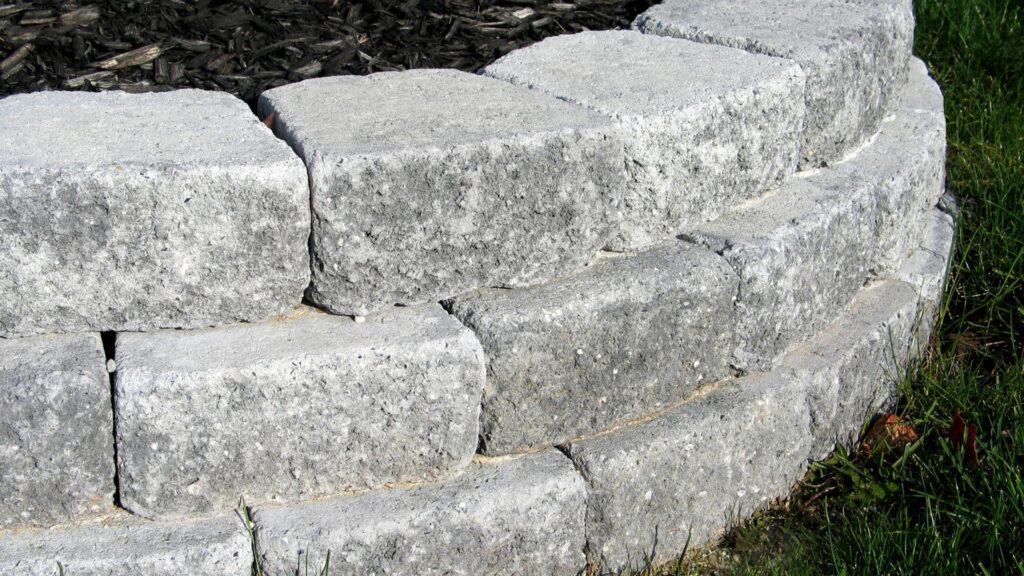
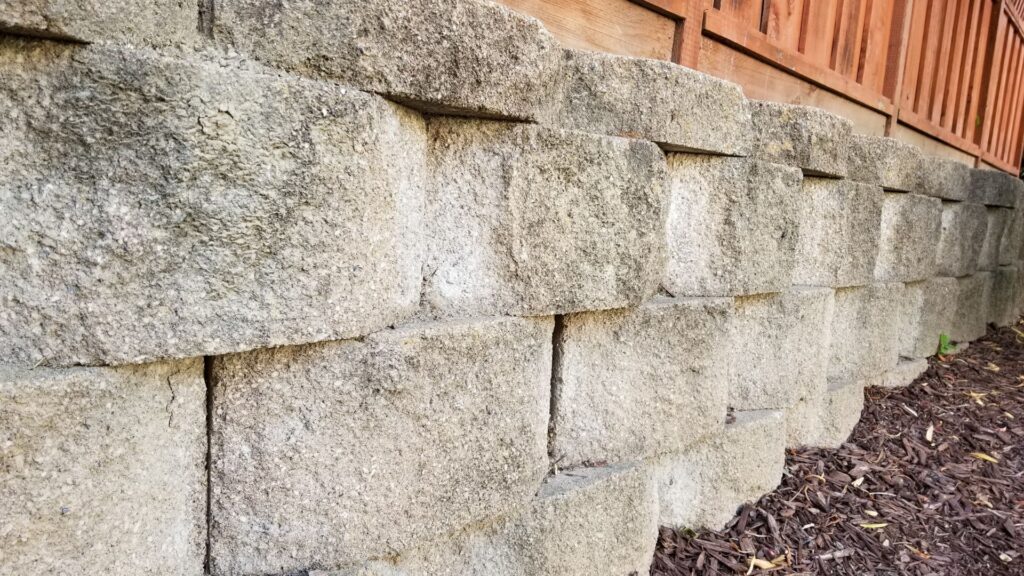
Concrete Blocks
Concrete blocks are strong, long-lasting, and suitable for walls that need to hold back a lot of soil or moisture. These are great if you want a sleek, modern look and structural reliability.
Pros:
- Extremely durable and resistant to weather
- Fireproof and pest-resistant
- Good for straight or curved walls
- Can be painted or rendered for different finishes
Cons:
- Heavy and harder to work with alone
- Needs a solid concrete footing and mortar for best results
- More labour-intensive than timber
Estimated Cost: $70–$120 per metre (materials only)
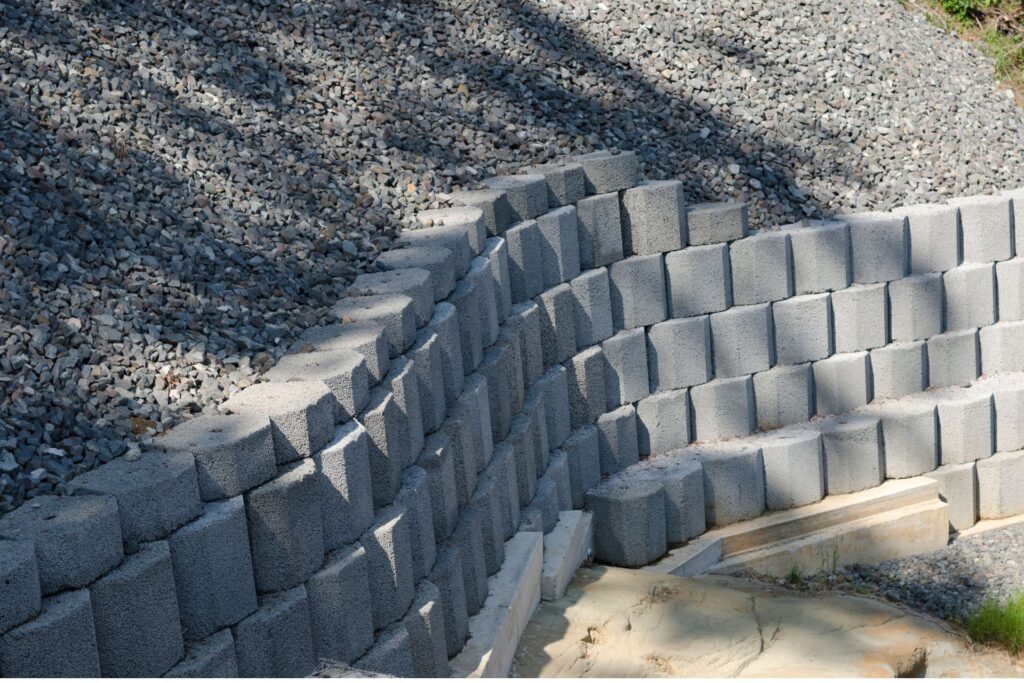
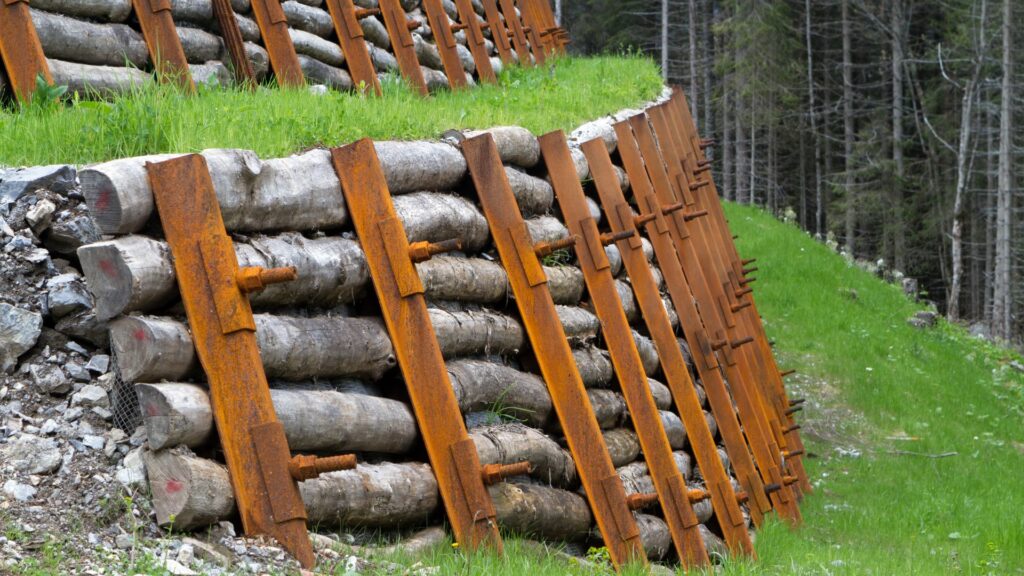
Gabion Baskets
Gabion baskets are wire cages filled with stones or rocks. They offer a rugged, natural look and excellent drainage. These are becoming more common in both rural and urban NZ landscapes.
Pros:
- Excellent drainage—water flows through easily
- Very strong and erosion-resistant
- Minimal maintenance over time
- Recyclable materials often used
Cons:
- Requires a lot of stone fill, which can get expensive
- Can look industrial or bulky if not designed carefully
- Not ideal for tight garden spaces
Estimated Cost: $100–$180 per metre (including rock fill)
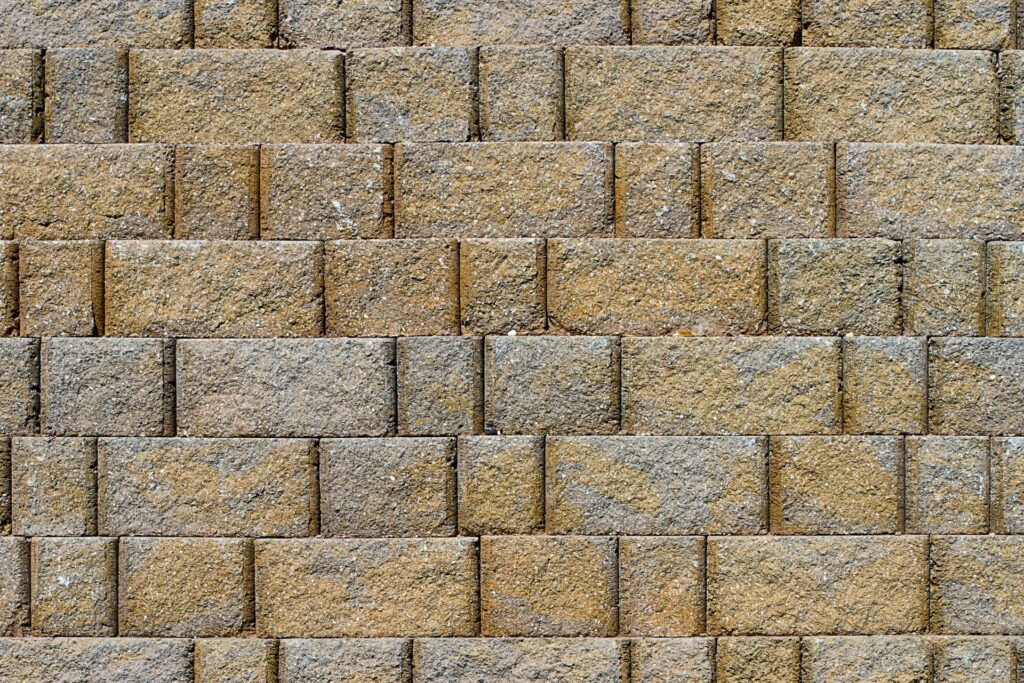
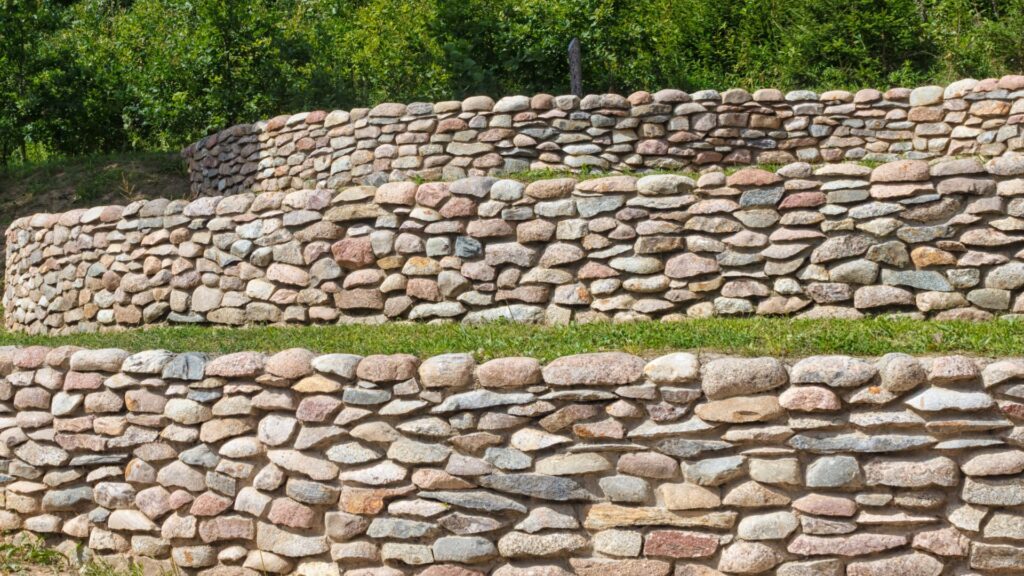
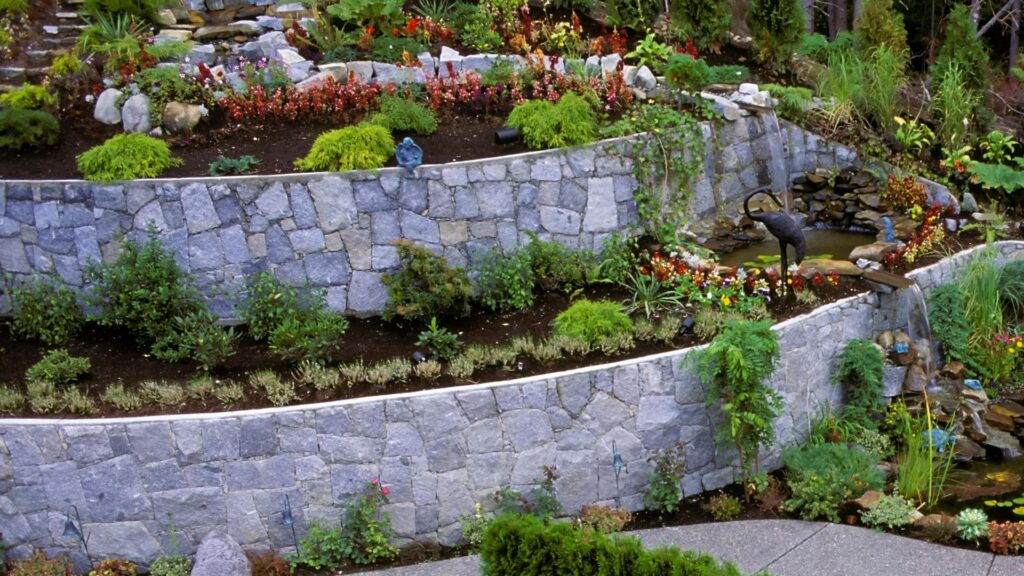
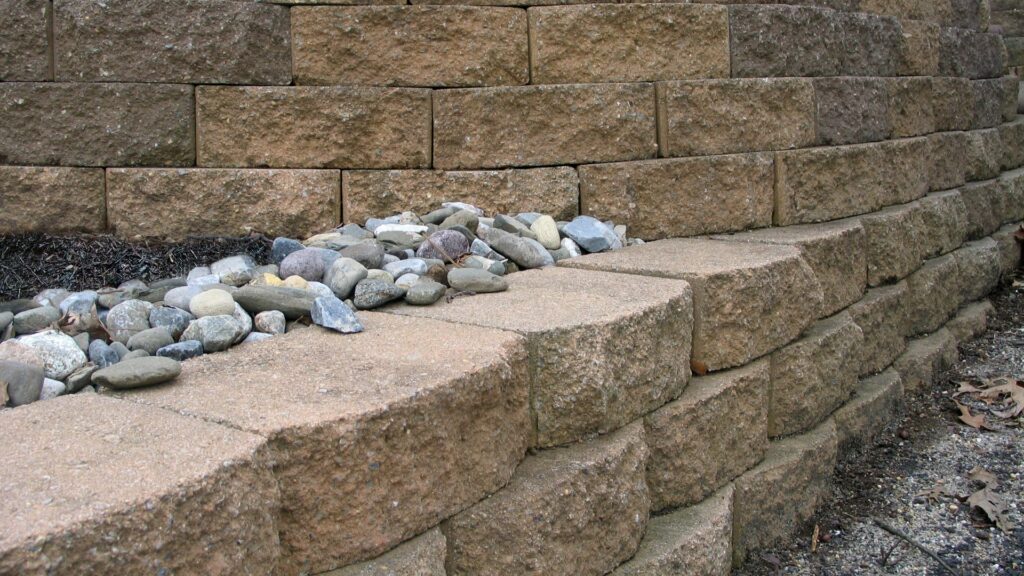
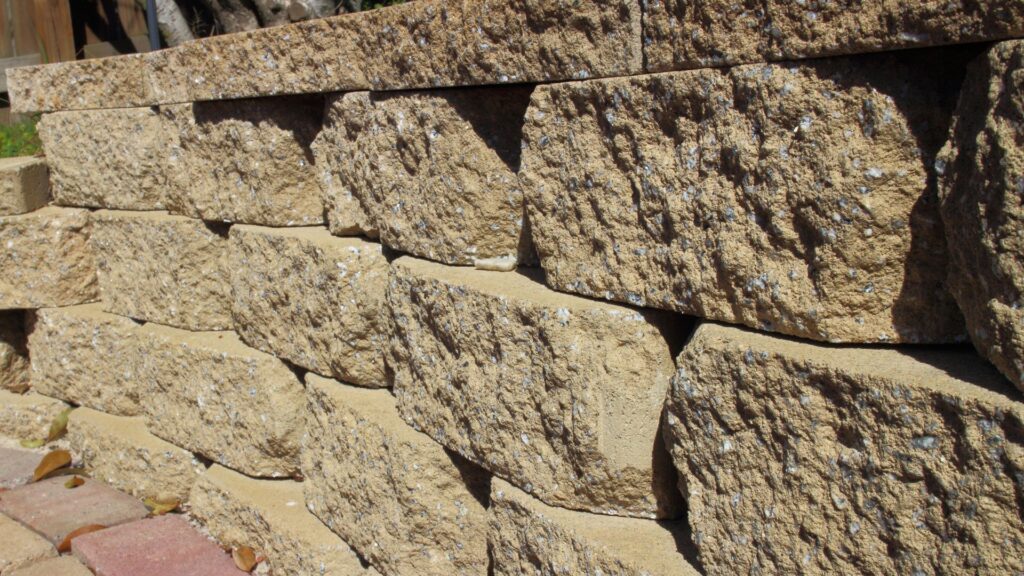
Stone (Natural or Cut Stone)
Stone walls are classic, durable, and visually striking. They suit properties where design and long-term value are a priority. They work especially well for tiered gardens or landscape features.
Pros:
- Long-lasting and low maintenance
- Excellent visual appeal and property value
- Naturally strong and stable
- Great for sloped or uneven terrain
Cons:
- Time-consuming to install, especially if dry-stacked
- Requires skill or experience to lay properly
- Can be very expensive compared to other options
Estimated Cost: $150–$300 per metre (materials only)
Which Material Should You Choose?
It depends on your project goals, budget, and experience level. If you’re just getting started with DIY and want something simple and affordable, treated pine is a smart pick. For a more polished or long-lasting wall, concrete blocks or gabion baskets offer more strength. If looks matter most and you’re ready to invest time and money, natural stone makes a strong impression.
Always factor in drainage, soil type, and height limits. And remember—no matter which material you choose, a well-built wall starts with proper planning and solid construction techniques.

Tools And Materials Checklist
Before you start building your DIY retaining wall, it’s important to gather the right tools and materials. Having everything ready will save you time, reduce mistakes, and make the entire project smoother. This checklist covers the basic tools, building materials, and safety gear you’ll need. It’s tailored for New Zealand conditions and suitable for most small to medium retaining wall builds.
Essential Tools
Shovel
You’ll need a sturdy shovel for digging the trench, moving soil, and backfilling. Choose a long-handled shovel with a strong blade, especially if you’re working in clay-heavy or compacted soil.
Wheelbarrow
A wheelbarrow is vital for transporting soil, gravel, and other materials across your site. It also helps reduce back strain and keeps your workspace cleaner and more organised.
Level
Accuracy is everything when building a wall. A good-quality spirit level will help you make sure each board and post is straight and aligned. This keeps your wall looking professional and prevents leaning or collapse over time.
String Line
A string line helps you set a straight reference line across the build area. It’s perfect for marking out where your posts and boards should go and ensures consistent height and alignment from start to finish.
Tape Measure
Measuring everything carefully will save you costly mistakes. Use a tape measure to check post spacing, wall height, and trench depth. Double-checking measurements ensures your wall stays within council limits if required.
Building Materials
Timber
For DIY retaining walls in NZ, H4-treated timber is the go-to choice for in-ground posts. For the planks or sleepers, H3.2-treated timber is usually enough. Choose quality, straight boards that can handle New Zealand’s outdoor conditions.
Nails or Screws
Galvanised or stainless steel nails and screws are best for outdoor use. They resist rust and keep your wall structurally sound over time. Screws offer a tighter hold and are easier to remove if adjustments are needed.
Concrete Mix
You’ll need a ready-mix concrete blend to secure your posts in the ground. This creates a solid base and prevents movement. Follow the mix instructions carefully and allow enough time for it to cure before attaching any boards.
Drainage Metal
Drainage is non-negotiable. Use crushed stone or scoria behind your wall to allow water to flow freely. This reduces pressure buildup and helps your wall last longer without bowing or cracking.
Landscape Fabric
This fabric sits between the soil and drainage material. It stops dirt from clogging your drainage while still allowing water to pass through. It’s a small step that makes a big difference in wall durability.
Personal Protective Equipment (PPE)
Gloves
Use heavy-duty gloves to protect your hands from splinters, nails, and sharp tools. They also help when handling rough timber or mixing concrete.
Boots
Steel-toe or reinforced boots provide safety and stability on uneven or muddy ground. A good grip prevents slips, and foot protection is essential when lifting heavy materials.
Safety Glasses
Flying debris, dust, or splinters can damage your eyes when cutting timber or digging. Wear safety glasses at all times during construction to prevent accidents.
Having all these items ready before you start helps you stay focused and avoid unnecessary delays. Each item on this list plays a role in building a retaining wall that’s safe, strong, and long-lasting—exactly what you need for a successful DIY project in New Zealand.
Step-By-Step Guide To Building A Timber Retaining Wall
Building a timber retaining wall is one of the most achievable DIY landscaping projects for Kiwi homeowners. It can help manage sloped land, prevent soil erosion, and add structure to your outdoor space. Follow this detailed step-by-step guide to ensure your retaining wall is strong, safe, and built to last in New Zealand’s conditions.
Marking The Area And Digging The Trench
Start by marking out where your retaining wall will go. Use pegs and string to map the exact position and height. Double-check that the wall is positioned away from property boundaries unless you’ve consulted with your neighbor.
Once marked, dig a trench for the foundation. This trench should be:
- At least 200–300mm deep for a low wall (under 1.2m)
- Wide enough to fit your posts and allow space for drainage metal
Practical Tip: Use a spirit level to check that your trench is flat. A sloped or uneven trench will cause major issues later.
Setting Posts In Concrete
Strong posts are the backbone of a reliable timber retaining wall. Use H4-treated timber posts and space them no more than 1.2 metres apart for a wall under 1.5m high.
Here’s how:
- Place each post upright in the trench.
- Pour concrete into the post holes and make sure each post is plumb (vertically straight).
- Allow 24–48 hours for the concrete to fully set before attaching timber rails.
Reminder: Keep checking the vertical alignment of each post with a level. Even one tilted post can weaken the entire structure.
Attaching Timber Planks
Once the posts are set, it’s time to fix the horizontal timber rails or planks. Use H3.2-treated timber for these.
Steps:
- Start from the bottom and work your way up.
- Fix the first plank securely to the back of the posts using galvanised nails or screws.
- Overlap each additional plank slightly if needed, and continue until you reach the desired height.
Pro Tip: Use a string line across the top to make sure each row is even and straight.
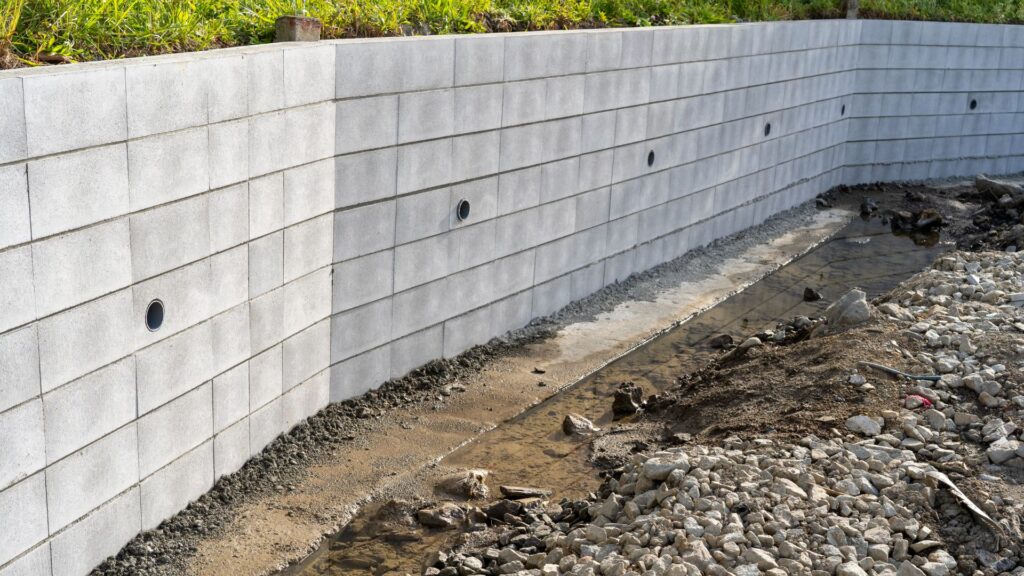
Installing Drainage (Metal + Pipe)
Drainage is one of the most critical parts of a retaining wall. Without it, water pressure will build up and damage your wall over time.
Here’s what to do:
- Lay landscape fabric behind the wall to prevent soil from clogging the drainage.
- Place a 100mm perforated drainpipe (ag pipe) at the base, sloping slightly so water flows out naturally.
- Cover the pipe with 200–300mm of scoria or drainage metal.
Important: Always direct the drainpipe to a safe runoff point away from the wall.
Backfilling With Care
Once drainage is installed, it’s time to backfill.
Follow these steps:
- Add gravel or crushed stone first to improve water movement.
- Top it off with compacted soil.
- Avoid dumping heavy soil all at once—layer it and compact gently to reduce pressure on the wall.
Tip: Never use clay-heavy soil directly behind a retaining wall. It holds water and increases wall stress.
Add Practical Tips At Each Stage
Always wear gloves, boots, and eye protection. Double-check council rules before building near a boundary or over 1.5 metres high. Keep checking levels during every stage to avoid sloping or crooked construction. If you’re unsure, consult a builder or landscaper to check your plan.
Building a timber retaining wall isn’t just about putting up timber—it’s about making sure every part of it works together for stability and long-term strength. Take your time, check your work, and follow these steps carefully. Your backyard will thank you for it.
Common Mistakes To Avoid
When building your own retaining wall in New Zealand, it’s easy to overlook small details that can lead to big problems later. A wall that looks solid today might fail in a few months if it’s not built correctly. Here are four of the most common mistakes DIYers make, and how you can avoid them.
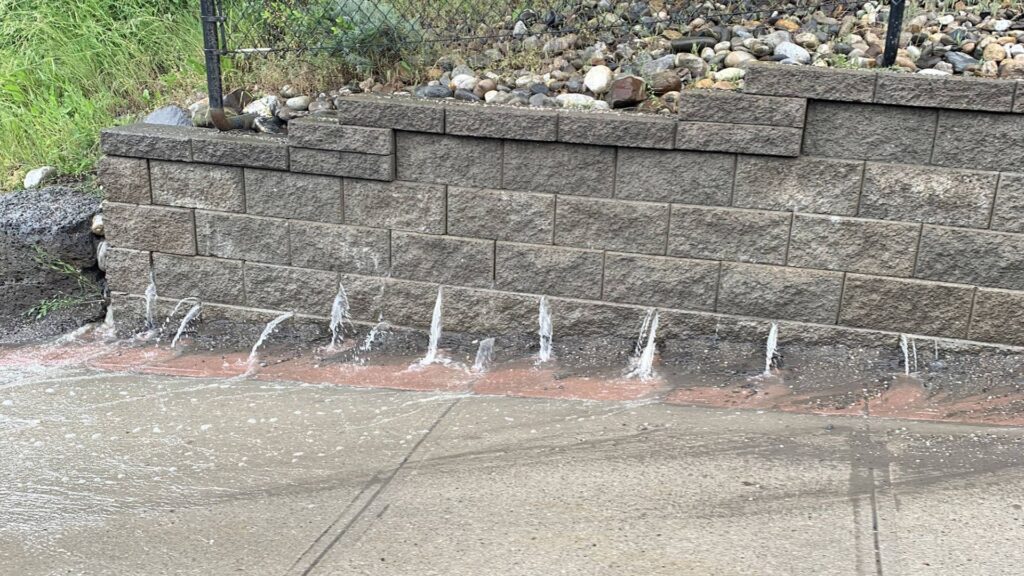
Skipping Drainage = Wall Failure
Poor drainage is the number one cause of retaining wall failure. When water builds up behind your wall with nowhere to go, it creates pressure that pushes against the structure. Over time, this pressure can cause bowing, cracking, or even total collapse.
Every retaining wall—no matter the material—needs proper drainage. That means laying down gravel or scoria behind the wall, adding a drainage pipe (like an ag pipe) at the base, and ensuring water can escape through weep holes or open joints. If you’re building a timber wall, you can also leave small gaps between boards to help water drain.
Don’t assume you can skip this step just because your garden “doesn’t flood.” New Zealand weather is unpredictable. Heavy rain can quickly test your wall’s strength.
Not Anchoring Posts Deep Enough
Posts are the backbone of a timber retaining wall. If they’re not set deep enough into the ground, the wall won’t stay upright for long. As a rule of thumb, at least one-third of the post’s height should be buried and secured with concrete.
For example, if your wall is 1.2 metres tall, your posts should be around 1.8 metres long, with 600mm in the ground. Short-cutting this part might save time, but it guarantees problems later. Shallow posts can shift, lean, or pull out of the soil during wet weather or under pressure.
Take the time to dig deep, use a post hole borer if needed, and fill around the base with concrete for long-lasting support.
Using Untreated Timber
Not all timber is created equal. Regular untreated wood will rot quickly when exposed to soil and moisture. Using it in your retaining wall is a waste of money—and dangerous.
In New Zealand, you should always use H4-treated timber for any wood that touches the ground. H4 treatment protects the timber from insects, decay, and moisture damage. For boards or rails above ground level, H3.2 treatment is usually fine.
Check the treatment rating stamped on the timber before you buy. It’s a simple step that adds years to your wall’s life.
Building Too Close To Boundaries
Building a retaining wall too close to a property boundary can cause legal headaches. Your local council may have setback rules, and your neighbour may not appreciate changes to shared land.
If your wall affects a fence line, drainage, or soil stability on the other side, it’s best to discuss it with your neighbour before starting. For walls over 1.5 metres high, or where there’s risk to other properties, you’ll likely need building consent.
Always check with your council first. Even if you’re well within your property, there are rules about how close structures can be to boundaries or stormwater systems. Don’t risk fines or a forced teardown.
Maintenance Tips To Make It Last
Building a retaining wall is only half the job—keeping it in good condition is just as important. Regular maintenance helps extend its life, keeps it looking sharp, and prevents costly repairs down the track. Whether you’ve built a timber or concrete wall, these simple habits will help your DIY retaining wall last for years.
Check For Bulges Or Cracks Yearly
Once a year, walk along your retaining wall and check for any signs of movement. Look for bulging timber, cracked blocks, leaning posts, or shifted soil behind the wall. These signs can point to drainage problems, poor structural support, or pressure building up from behind.
Catch small issues early. For example, a slight bulge might mean water isn’t draining properly. Fixing it now could save you from rebuilding an entire section later.
Keep Weep Holes Clear
Weep holes are small gaps at the base of your wall that let water escape. They help reduce pressure that builds up behind the wall after rain. If these holes get blocked by dirt, leaves, or mulch, water gets trapped—and trapped water leads to rot, cracks, or even wall failure.
Clear the holes every few months with a stick or a hose. If your wall doesn’t have weep holes, make sure your drainage pipe and backfill are working properly. Good drainage is one of the most important parts of long-term wall health.
Re-Stain Or Seal Timber If Needed
If you used timber for your wall, it’s exposed to rain, sun, and changing temperatures year-round. Over time, untreated or poorly maintained timber can fade, crack, or rot. Applying a wood stain or sealant every couple of years protects it from moisture and UV damage.
Choose a high-quality stain rated for outdoor use. Clean the wood first to remove dirt or moss, let it dry fully, and then apply the sealant using a brush or roller. You’ll not only protect the wood but also keep it looking fresh.
Why It Matters
Well-maintained retaining walls are safer, last longer, and look better. Small problems can grow quickly if ignored—especially in New Zealand’s wet and varied climate. These three maintenance steps take less than a weekend each year but can add years of life to your wall.
When To Call A Professional
While building a small retaining wall on your own is a great weekend project, there are situations where it’s safer and smarter to get professional help. In New Zealand, building regulations and structural safety must be taken seriously—especially if you’re working with higher walls or challenging sites. Here’s when you should bring in an expert.
Steep Slopes Or Sloping Sections
If your property sits on a steep hill or has uneven ground, building a retaining wall yourself can quickly become risky. The steeper the slope, the more pressure the wall must withstand. DIY methods might not offer the right support, which can lead to costly failures like wall collapse or soil movement.
A professional landscaper or structural engineer will assess the slope, drainage patterns, and soil type before recommending a safe, long-lasting design. They may also suggest terracing or reinforced walls that are beyond standard DIY approaches.
Walls Over 1.5 Metres High
In New Zealand, any retaining wall taller than 1.5 metres requires building consent under the NZ Building Code. At this height, the wall must handle significant soil pressure and environmental forces like rain, erosion, and wind.
Even if you have some building experience, it’s not worth the risk. A qualified builder or engineer can design and construct a wall that meets legal requirements and ensures long-term safety. They’ll also handle the paperwork for building consent, saving you time and stress.
Engineering Sign-Off May Be Required
Some retaining walls—especially those over 1.5 metres or near structures—need to be signed off by a chartered professional engineer. This is not just a formality; it’s a legal requirement to prove the wall is safe and compliant.
If your wall is near a public area, supports another structure, or affects water runoff, it likely needs professional design and certification. Always check with your local council before you begin. Ignoring this step could result in fines, stop-work orders, or future problems when selling your home.
Building Near Existing Structures
If the retaining wall is close to your house, garage, driveway, or a neighbour’s property, don’t risk doing it yourself. Shifting soil and drainage issues can cause structural damage—not just to your wall, but to surrounding buildings.
Professionals will factor in proximity, load-bearing stress, and water redirection when planning the wall. They’ll also ensure that construction doesn’t interfere with underground pipes, wiring, or property boundaries.
Final Tip
When in doubt, always consult a licensed builder, landscaper, or engineer. A quick site inspection or consultation could prevent expensive mistakes. Even if you plan to do most of the labour yourself, getting expert guidance for planning and compliance is a smart move that protects your investment and your safety.
Cost Estimate For A Small DIY Wall
Building a small retaining wall yourself can save a lot compared to hiring a contractor. But it’s still important to plan your budget realistically. In New Zealand, the cost to build a 5m x 1m timber retaining wall depends on the materials you choose, the tools you already own, and how you handle soil removal or delivery.
Here’s a full breakdown to help you estimate your total spend.
Materials
This is where most of your budget will go. For a standard timber wall using H4-treated pine, expect to purchase:
- Posts (H4-treated pine, 100mm x 100mm)
You’ll need about 6 posts spaced 1m apart, at approx. $25–$35 each
Total: $150–$210 - Rails or sleepers (150mm x 50mm or 200mm x 50mm)
For a 1m high wall, 3 horizontal layers are typical
Approx. $30–$40 per 2.4m length
Total: $180–$240 - Concrete mix for post holes
2–3 bags per post, around $10–$15 per bag
Total: $120–$180 - Drainage metal (scoria or gravel)
One cubic metre should be enough for a wall this size
Total: $60–$100 - Drainage pipe (perforated ag pipe)
5m roll costs around $40–$60
Total: $40–$60 - Geotextile fabric
Helps prevent soil from clogging your drainage
Total: $30–$50 - Nails, screws, brackets
Galvanised fixings to resist rust
Total: $30–$50
Estimated Materials Subtotal: $610–$890 NZD
Tools
If you’re doing it yourself, you may already have some of these. If not, factor in purchase or rental:
- Spade and shovel
Buy: $30–$60 - Spirit level and string line
Buy: $20–$50 - Wheelbarrow
Buy or rent: $80–$120 - Power drill or impact driver
Buy or rent: $100–$200 - Saw (circular or handsaw)
Buy: $70–$150
If you already own most tools, you’ll save hundreds. If not, try borrowing or renting to cut costs.
Estimated Tools Subtotal (if buying all): $300–$500 NZD
Soil Disposal Or Delivery
Removing soil or ordering bulk materials can carry hidden costs:
- Soil skip/bin hire
$150–$250 for a small bin - Delivery fees for gravel or timber
$60–$100 depending on location
Estimated Disposal/Delivery: $150–$300 NZD
Total Rough Cost Range
If you have basic tools already:
$800–$1,200 NZD
If you need to buy tools too:
$1,100–$1,600+ NZD
This estimate is for a DIY timber wall, 5 metres long and 1 metre high, built in a typical Kiwi backyard. Costs may vary based on your region, access to materials, and personal preferences.
Building it yourself can cut your expenses by 40–60% compared to hiring a pro. Just make sure to plan carefully, use quality materials, and follow best practices to avoid expensive repairs later.
Ready to build your own retaining wall? Get the tools, materials, and advice you need from our team. Visit Retaining Wall Specialists Auckland to get started today.
FAQs: About DIY Retaining Wall Guide NZ
Conclusion
If you’re new to DIY projects, starting with a small retaining wall is a smart move—it gives you hands-on experience without the pressure of a large build. Keep things simple, follow each step carefully, and always prioritize safety and stability. To recap, make sure you plan your layout, confirm if consent is required, choose the right materials, install proper drainage, and double-check your measurements before you build. With the right approach and a clear checklist, even beginners can create a wall that looks good and lasts. When it comes to buying supplies, you can visit trusted New Zealand stores like Mitre 10, Bunnings, or your local landscape supply yard. These outlets usually stock everything you need, from treated timber and concrete mix to ag pipe and gravel. Take your time, ask questions at the store if you’re unsure, and enjoy the process—because building something yourself is not just about saving money, it’s about learning a valuable skill.
About the Author:
Mike Veail is a recognized digital marketing expert with over 6 years of experience in helping tradespeople and small businesses thrive online. A former quantity surveyor, Mike combines deep industry knowledge with hands-on expertise in SEO and Google Ads. His marketing strategies are tailored to the specific needs of the trades sector, helping businesses increase visibility and generate more leads through proven, ethical methods.
Mike has successfully partnered with numerous companies, establishing a track record of delivering measurable results. His work has been featured across various platforms that showcase his expertise in lead generation and online marketing for the trades sector.
Learn more about Mike's experience and services at https://theleadguy.online or follow him on social media: