Welcome to your go-to guide for keystone installation in NZ, where we break down everything you need to know before starting your retaining wall project. Whether you’re planning a DIY job in your backyard or simply exploring options for better soil support on sloped ground, keystone blocks offer a reliable and affordable solution. In this guide, you’ll learn what keystone blocks are, when to use them, how to install them step by step, and which mistakes to avoid, all tailored for New Zealand conditions. By the end, you’ll be ready to plan with confidence, choose the right materials, and decide whether to go the DIY route or bring in a local expert.
Keystone installation in NZ involves preparing a solid gravel base, laying interlocking keystone blocks in staggered rows, adding proper drainage, and securing the top with cap blocks. Ideal for retaining walls and garden edges, keystone blocks are durable, DIY-friendly, and widely available from local suppliers like Mitre 10 and Bunnings. Walls under 1.5m often don’t require council consent, making them perfect for home landscaping projects.
- What Are Keystone Blocks?
- When And Why To Use Keystone Blocks
- Step-By-Step Guide To Keystone Installation
- Common Mistakes To Avoid During Keystone Installation
- DIY Vs. Hiring A Pro In NZ
- Keystone Suppliers In New Zealand
- FAQs: About Keystone Installation In NZ
- What are keystone blocks used for in New Zealand?
- Do I need council consent to build a keystone retaining wall?
- Can I install keystone blocks myself, or should I hire a professional?
- How much does a keystone retaining wall cost in NZ?
- What tools and materials do I need for keystone installation?
- How deep should the base be for a keystone wall?
- What’s the most common mistake people make when installing keystone blocks?
- Are keystone blocks available at major NZ suppliers?
- How long do keystone retaining walls last?
- Can I build a keystone wall next to my neighbour’s fence?
- Conclusion
What Are Keystone Blocks?
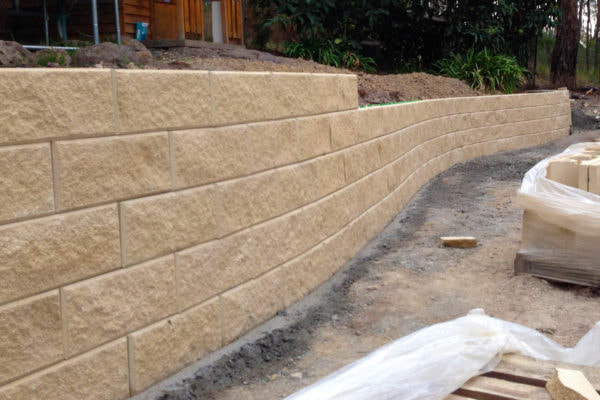
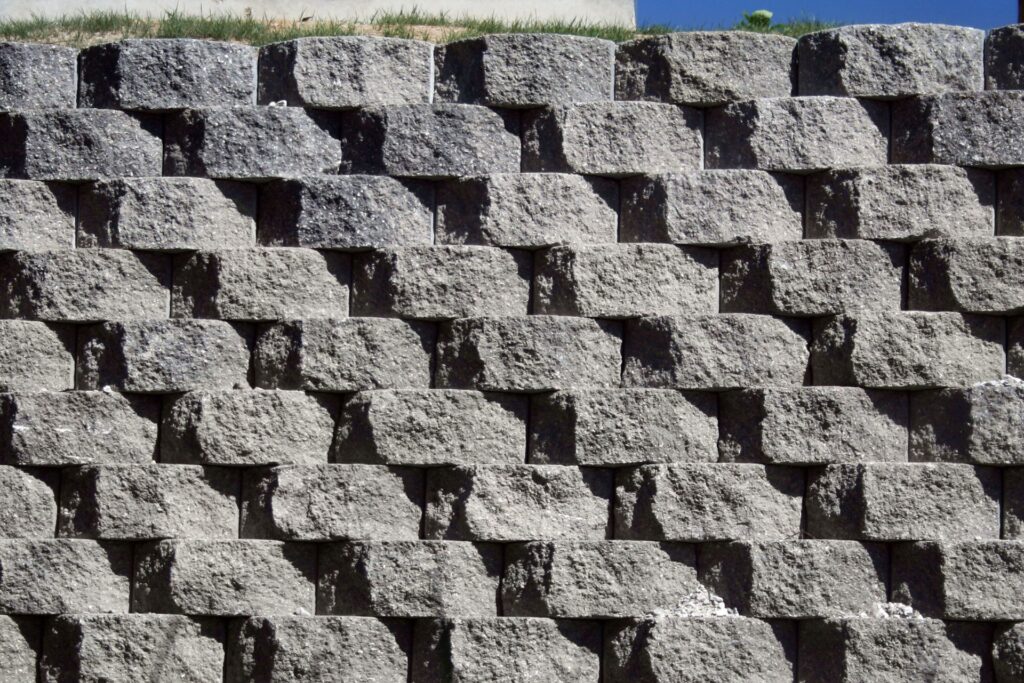
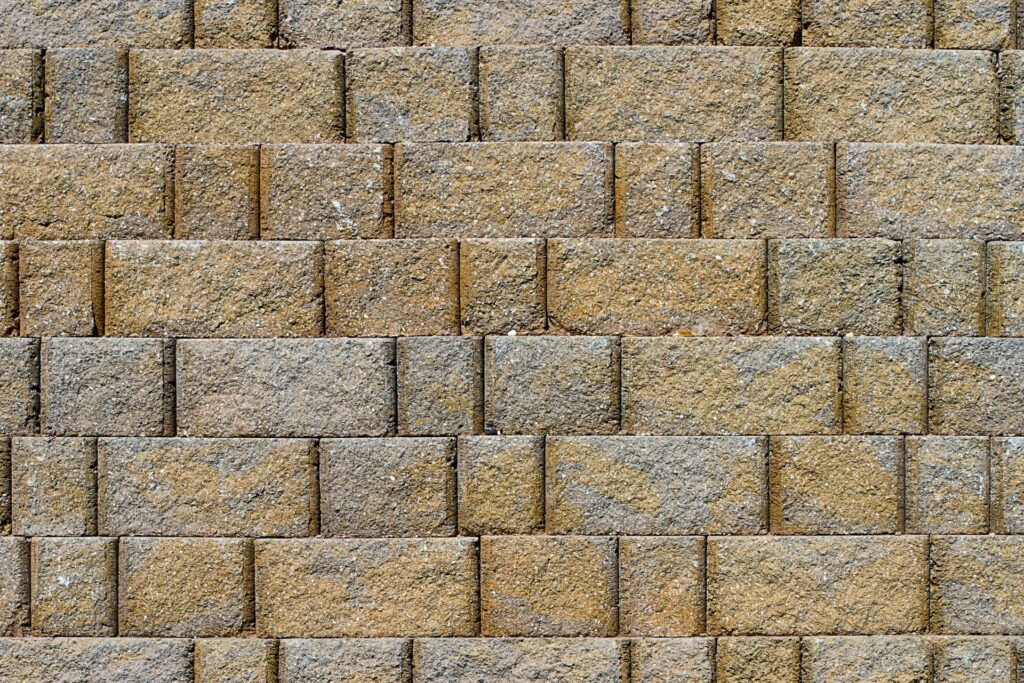
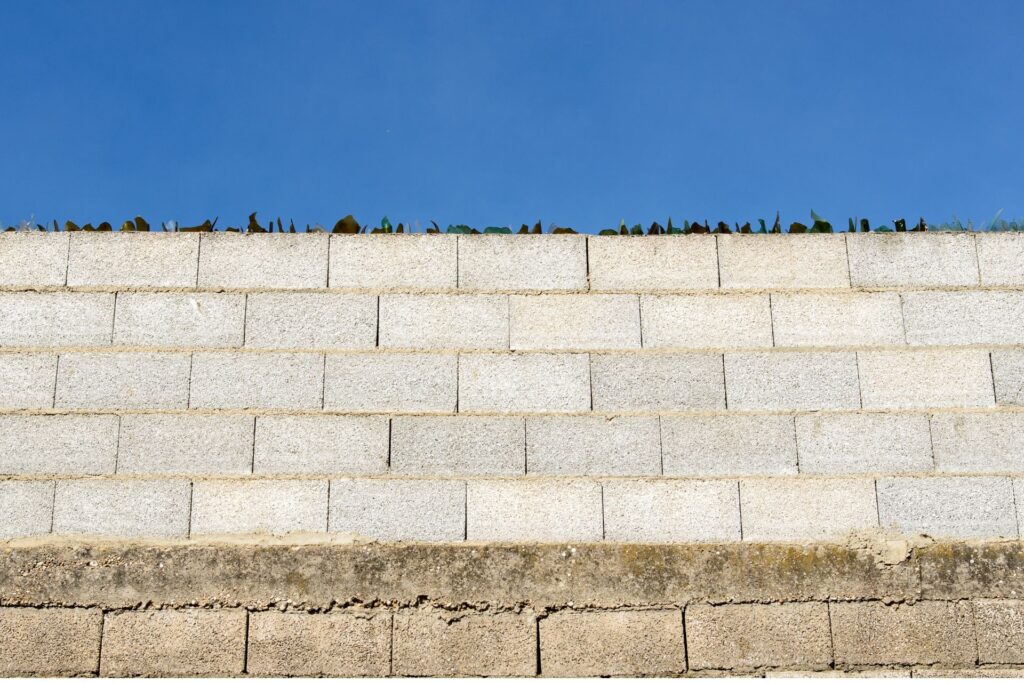
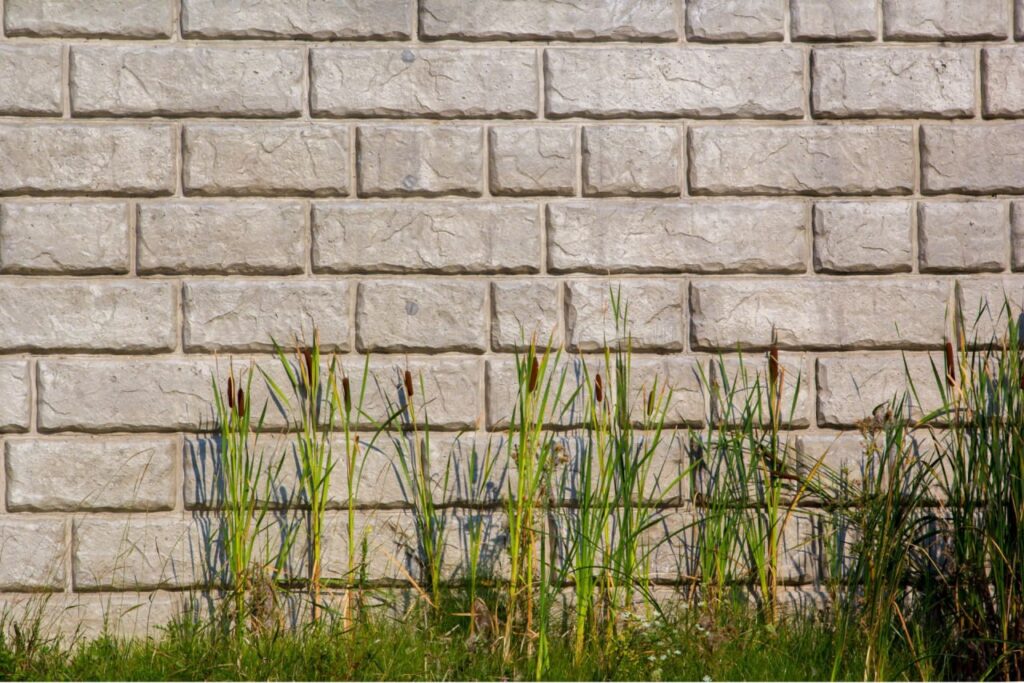
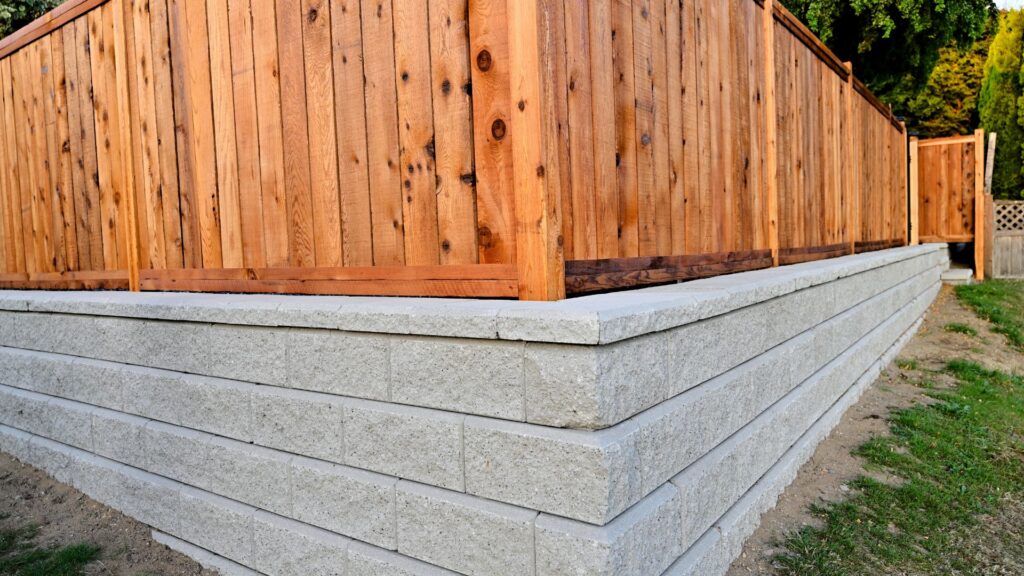
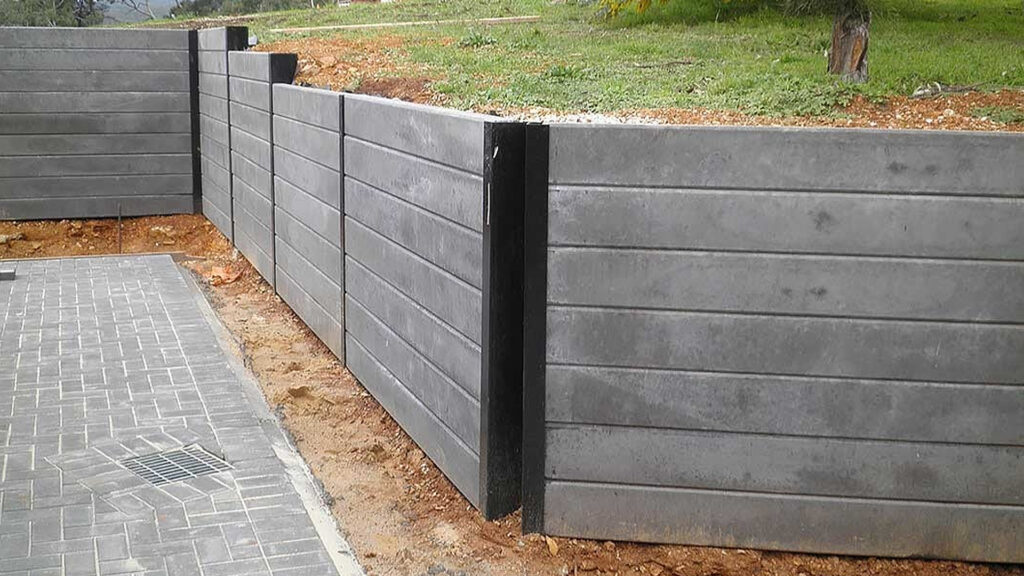
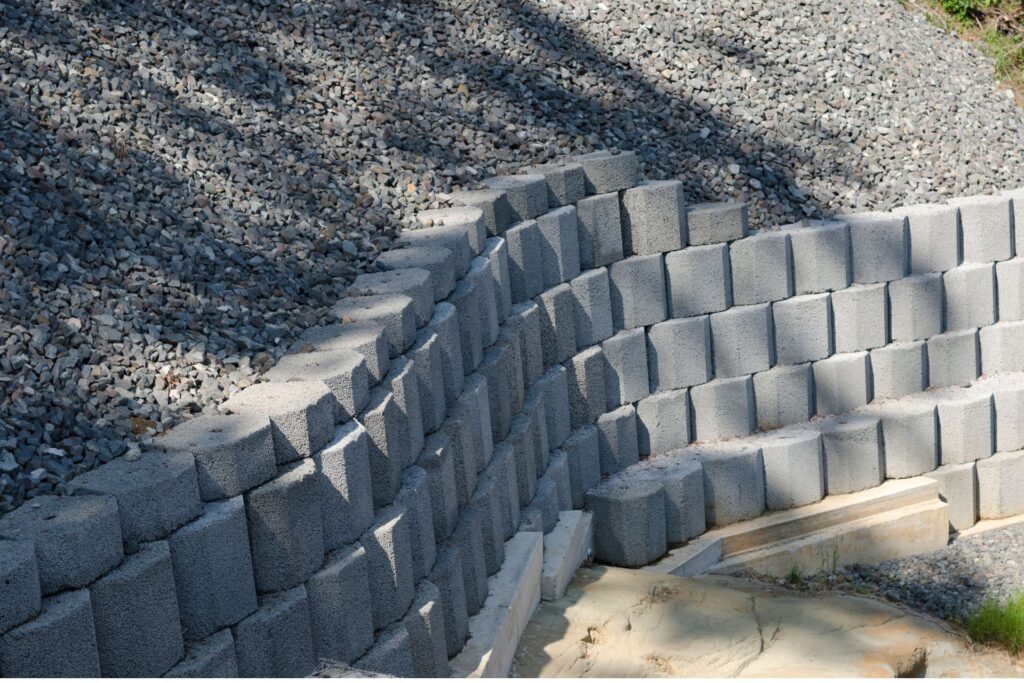
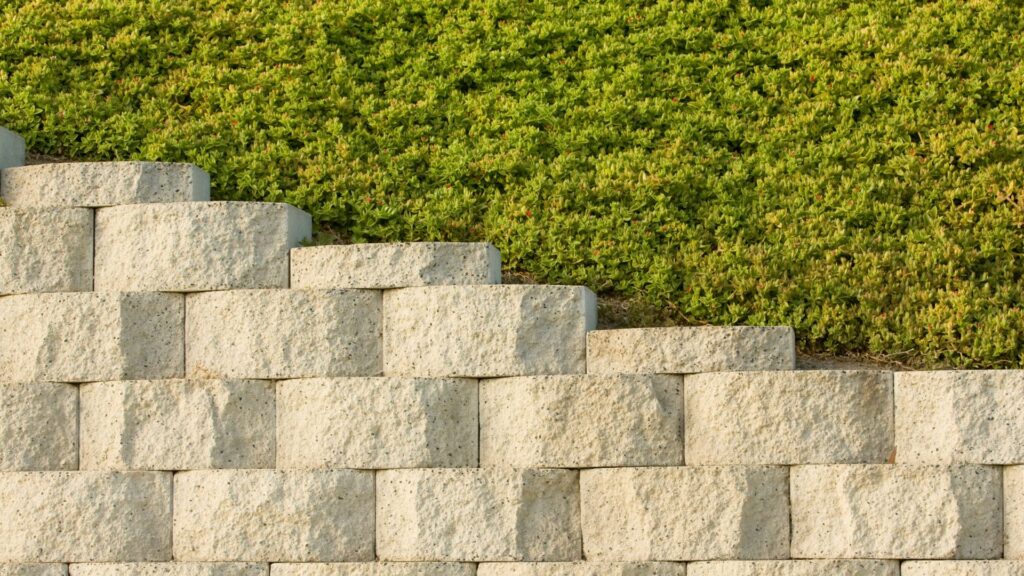
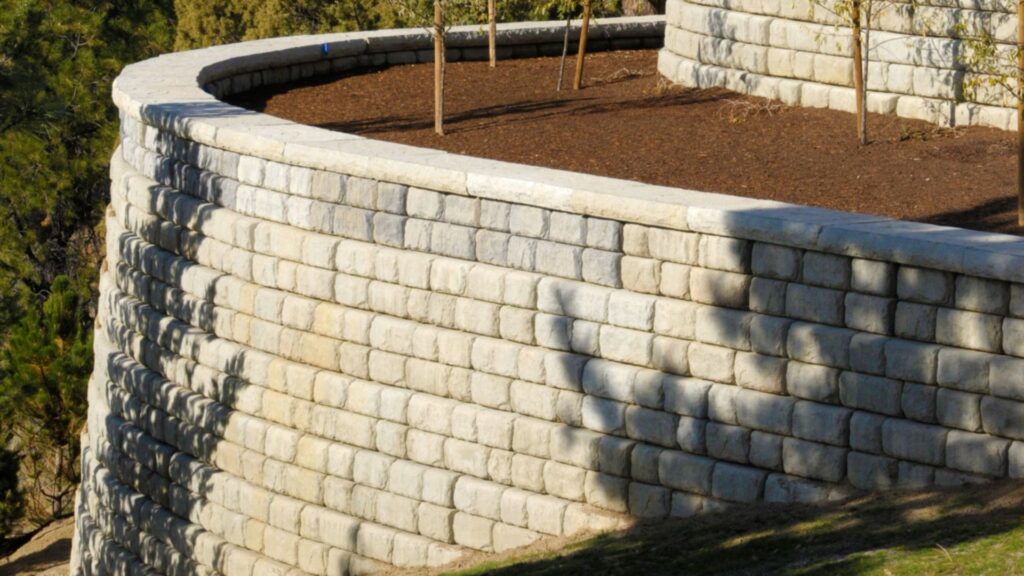
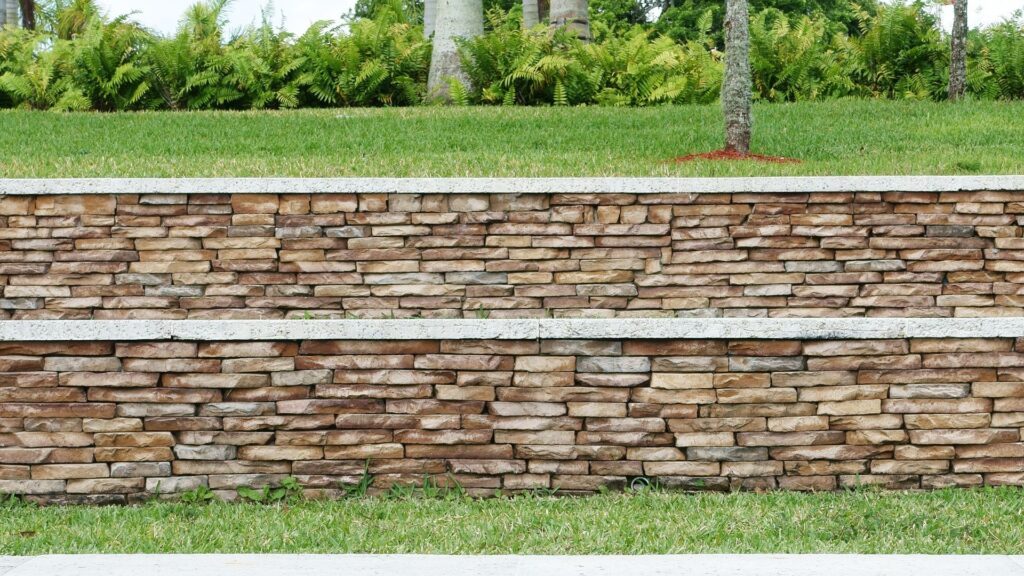
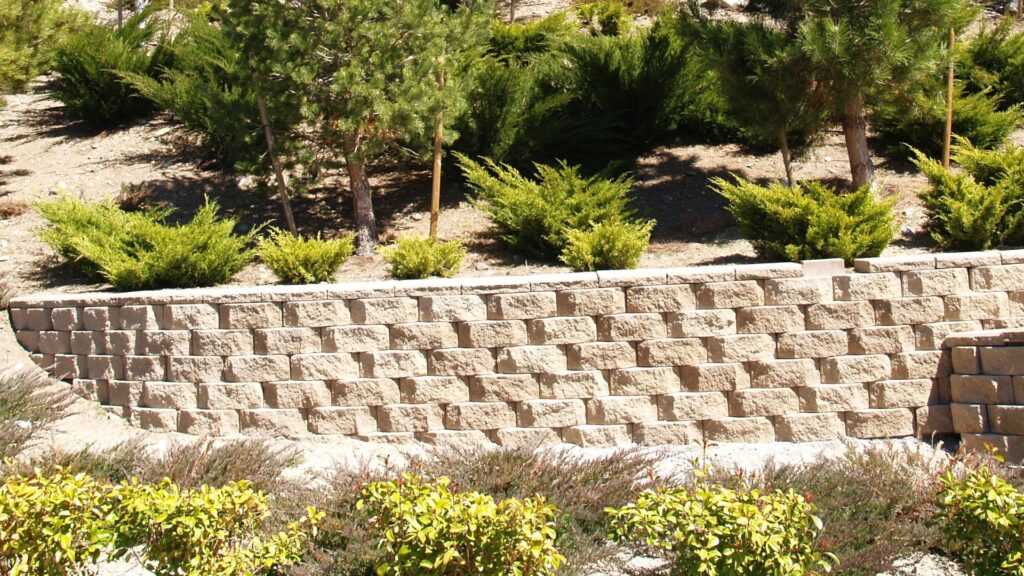
Keystone blocks are precast concrete units designed to create strong, interlocking retaining walls. Each block features a pin or lip system that allows for quick stacking without mortar, making them a popular choice for both residential and commercial landscaping projects. These blocks are engineered to hold back soil, define garden spaces, or support sloped areas, all while maintaining a clean and uniform look.
For New Zealand landscapes, keystone blocks are an ideal solution due to their weather resistance and long-term durability. With unpredictable weather patterns, from heavy rain in the North Island to strong winds in the South, homeowners need materials that can withstand natural forces without cracking or shifting. Keystone blocks meet this need thanks to their dense concrete composition and interlocking design. They’re also low-maintenance, easy to clean, and available at a range of price points, making them an affordable option for DIYers and professionals alike.
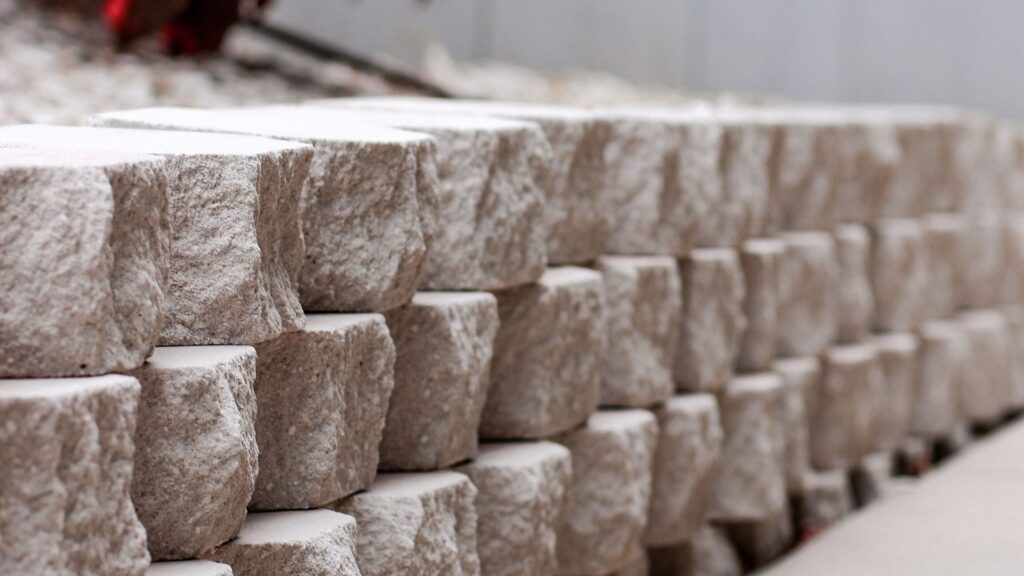
In New Zealand, the most common types of keystone blocks include the Keystone Standard and Keystone Compac. The Standard block is larger and suited for taller, more structural retaining walls, while the Compac version is lighter and easier to handle, ideal for smaller garden walls or beginner DIY projects. Both types are available through major local suppliers.
You’ll often find keystone blocks stocked at Bunnings NZ, Mitre 10, and other landscape material yards throughout the country. These retailers usually offer displays, brochures, and example walls in-store, allowing customers to see the blocks in action before buying. Some suppliers also provide online calculators to estimate how many blocks you’ll need based on your wall’s height and length, helping you plan more accurately.
When And Why To Use Keystone Blocks
Keystone blocks are a smart, practical choice for many outdoor projects across New Zealand. They’re popular among homeowners, landscapers, and builders because of their strength, flexibility, and ease of use. If you’re considering a retaining wall or garden edge, here’s when and why keystone blocks are the right option.
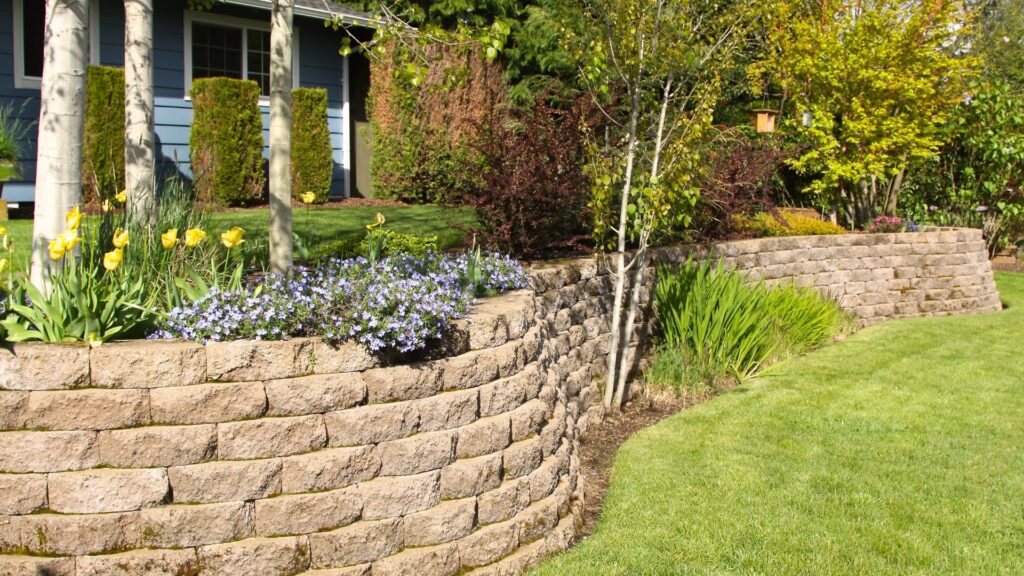
One of the most common uses for keystone blocks in NZ is managing sloped gardens. Many properties have uneven ground, and without proper support, soil can shift or erode over time. A keystone retaining wall helps control that movement, keeping your garden stable and visually tidy. It creates usable flat areas for planting, outdoor seating, or even driveways. If you’ve been looking for long-term retaining wall solutions NZ residents trust, keystone blocks are a top contender.
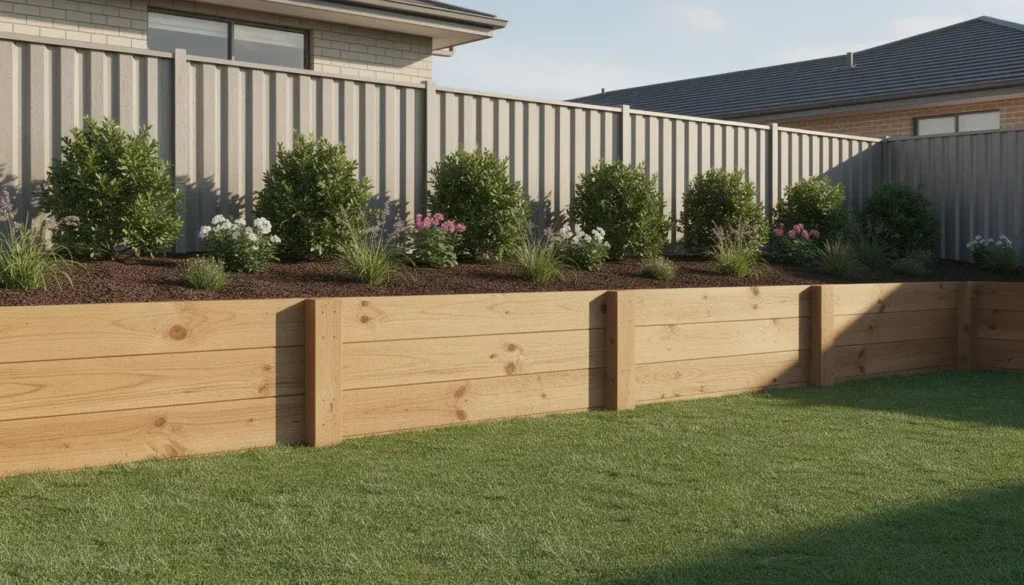
They’re also ideal for holding back soil along property boundaries. Whether you’re adding a small garden wall or protecting a fence line, these blocks provide strong, reliable support. Unlike poured concrete, they can be installed in layers without heavy equipment. Compared to timber, they don’t rot, warp, or attract pests, making them a more durable long-term investment.
Cost is another key reason to choose keystone blocks. While poured concrete can involve higher labour and equipment costs, and timber may need frequent replacement, keystone blocks strike a balance. You can find affordable options at stores like Mitre 10 or Bunnings NZ, and many homeowners complete the installation themselves, saving on labour. If you’re comparing garden wall blocks for both function and budget, keystone often wins out.
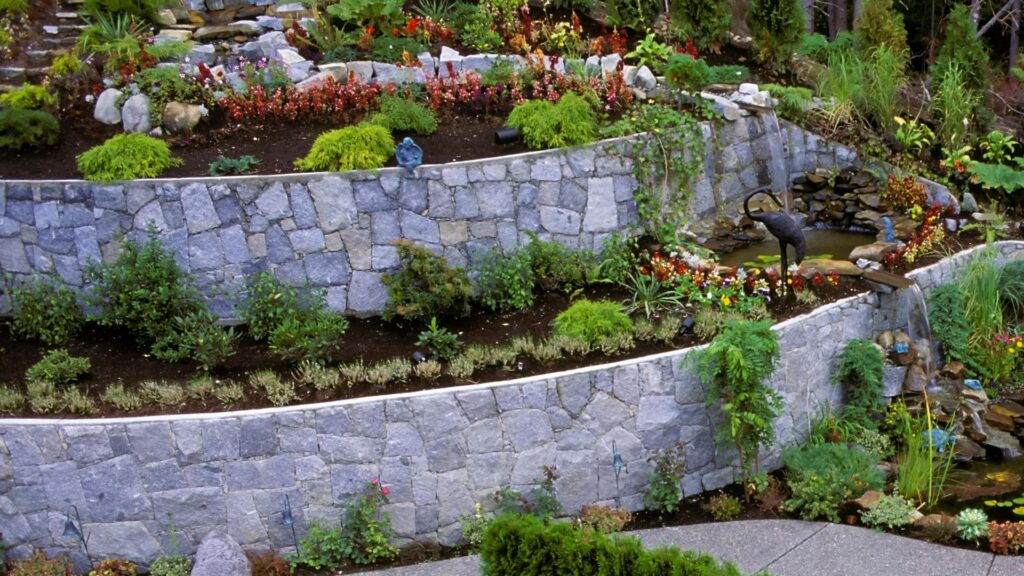
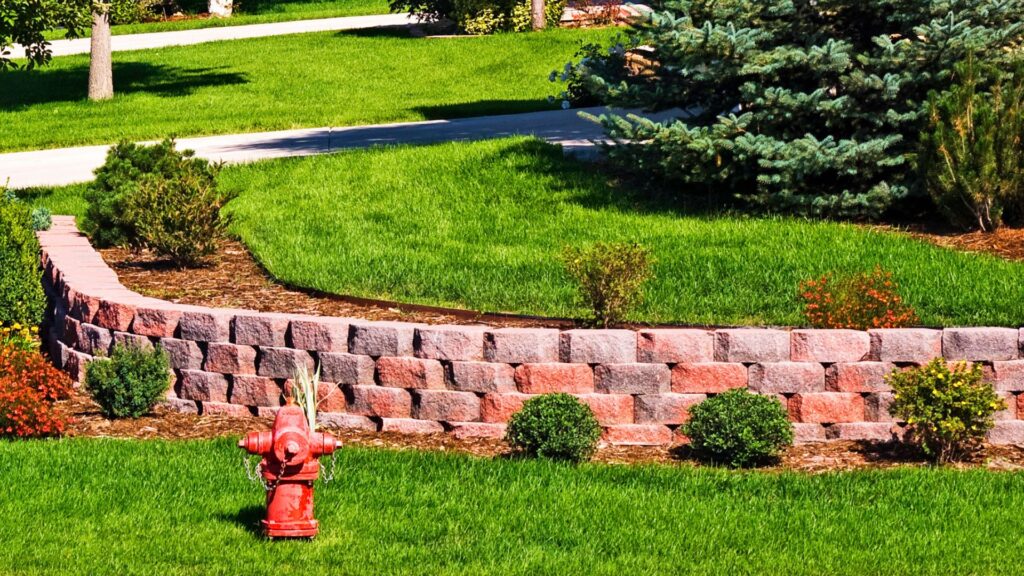
There’s also an aesthetic appeal that works well with modern NZ homes. These blocks come in a range of colours and textures to match outdoor tiles, fences, or cladding. They give your landscape a clean, consistent look, whether you’re building a raised garden bed or a full retaining wall around your property.
Lastly, don’t overlook council requirements. In many parts of New Zealand, retaining walls over 1.5 metres high may require a building consent. Before you start, it’s worth checking with your local council to avoid issues later. For most DIY projects under that height, keystone blocks are a safe and regulation-friendly option.
In short, keystone blocks offer strength, style, and value, making them one of the most recommended garden wall blocks in NZ. Whether you’re building on a slope, securing your boundary, or upgrading your outdoor space, they deliver a solid solution that lasts.

Step-By-Step Guide To Keystone Installation
Installing a keystone retaining wall in New Zealand may seem like a big job, but with the right preparation and materials, it’s completely doable for many homeowners. Whether you’re creating a garden wall or supporting a slope, this guide walks you through each stage with clear steps that apply to real NZ conditions. If you’re searching for tips on DIY keystone wall NZ, this section gives you everything you need to get started the right way.
1. Planning & Design
Every successful keystone installation starts with good planning. Begin by measuring the total length and width of the area where you’ll build your wall. Accuracy matters here because it affects how many blocks and materials you’ll need. Next, decide on your wall height. In most parts of New Zealand, retaining walls under 1.5 meters don’t require council consent, making them suitable for DIY projects. But always check with your local council to confirm.
Drainage is another crucial step many people overlook. Without proper drainage, your wall could shift or collapse over time. Plan for a drainage pipe or gravel backfill behind the wall. Finally, sketch a rough layout of your wall on paper or using a free design tool. This gives you a clear path to follow and helps avoid mistakes once you start digging.
2. Gather Tools & Materials
Before starting the build, make sure you have all the tools and materials ready. You’ll need a few basics like a shovel, string line, tape measure, level, and a hand tamper or plate compactor. These tools help you get the trench right and keep everything aligned.
For materials, start with your chosen keystone blocks. These are available from local NZ retailers like Bunnings or Mitre 10. You’ll also need coarse gravel for the base and backfill, a drainage pipe to move water away, and geogrid if you’re building a taller wall. The type of block and geogrid can vary depending on wall height and soil conditions, so always follow the block manufacturer’s guidelines.
3. Excavate & Lay Base
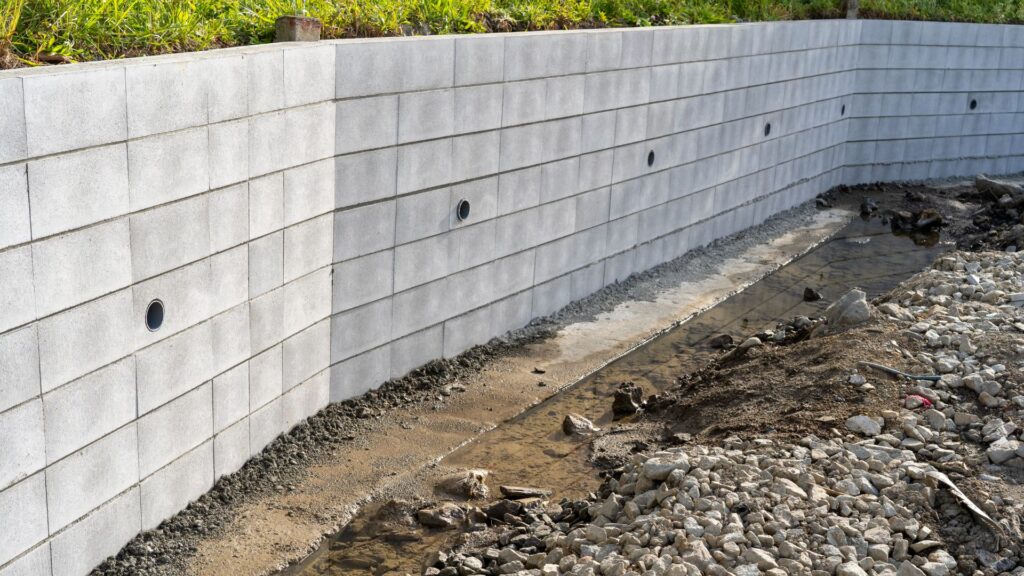
Start by digging a trench where the first course of keystone blocks will sit. The trench should be twice as wide as the block and deep enough to hold the gravel base and at least one full block. For most projects, around 150mm–200mm of depth works well.
Next, fill the trench with coarse gravel and compact it using a hand tamper or plate compactor. This creates a stable foundation for the blocks. Check the level of the gravel often, if your base isn’t level, your entire wall could end up slanted or unstable. A solid base is critical for any keystone retaining wall installation.
4. Lay First Course
The first course is the backbone of your wall. It must be straight, level, and perfectly aligned. Start by placing the first block at one end of your layout and continue placing blocks along the trench. Use a string line and level to check alignment as you go. Make sure each block is tightly set against the next with no gaps.
Any mistake in this layer will affect every row above it, so take your time here. If the blocks shift or tilt even slightly, pull them out, adjust the gravel underneath, and reset them. This step is especially important for anyone learning how to build keystone wall structures for the first time.
5. Stack, Backfill, And Reinforce
Once the first course is set, begin stacking the next rows of blocks. Always stagger the joints between blocks, this improves wall strength and helps lock everything together. As you add each new layer, backfill the space behind the wall with gravel to improve drainage and stability.
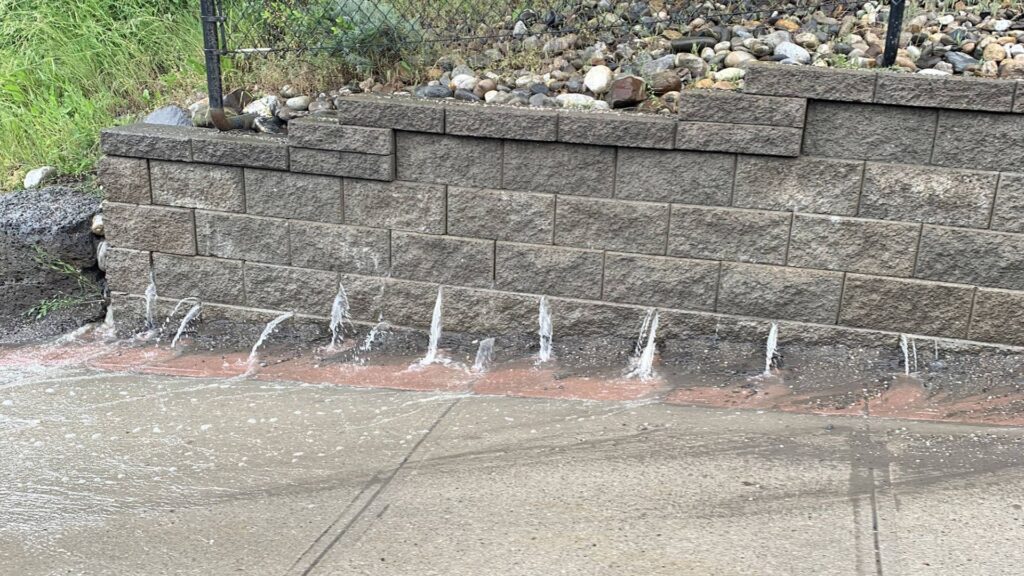
Install a perforated drainage pipe at the base of the wall to carry water away. If your wall is taller or supports a slope, add geogrid between rows. Geogrid is a mesh material that reinforces the wall by anchoring it into the soil. Follow the block manufacturer’s specs for how often and how deep to lay the geogrid.
6. Capping & Finishing
Once you reach your desired height, it’s time to cap the wall. Keystone caps give the wall a clean, finished look and add extra weight to lock everything in place. Apply a concrete adhesive to the top row of blocks and set the caps firmly in position.
Clean up the work area by brushing off dust, removing excess gravel, and checking that the wall is stable from end to end. You can now add finishing touches like soil, plants, or mulch behind the wall. These final details make a big difference in the wall’s overall appearance.
Common Mistakes To Avoid During Keystone Installation
Building a keystone retaining wall can be a rewarding project, but a few common mistakes often lead to structural problems, wasted time, and added costs. Whether you’re a first-time DIYer or planning to hire a contractor, being aware of these issues early on can save you from costly repairs and compliance issues. Here are the most common keystone wall installation mistakes to avoid in New Zealand.
Skipping Drainage
One of the most frequent causes of retaining wall failure is poor or missing drainage. When water builds up behind the wall, it creates pressure that can push the wall forward or cause it to collapse. New Zealand’s wet climate makes this issue especially important. Always include a proper drainage solution, such as a perforated drainpipe and gravel backfill. Don’t just assume soil will drain naturally, plan for consistent water flow and redirect it away from the wall structure.
Uneven Base Layer
A level and compacted base layer is the foundation of a strong keystone wall. If the first row of blocks isn’t perfectly level, the rest of the wall will reflect that imbalance. Uneven bases cause leaning, cracks, and long-term shifting. Use a spirit level to check each block as you lay the first course and compact the base material properly before installing any blocks. This step often gets rushed, but it’s critical to overall wall strength and appearance.
Ignoring Geogrid For Higher Walls
If you’re building a wall taller than 1 metre, using geogrid reinforcement is essential. Geogrid helps lock the soil and blocks together, increasing the wall’s ability to withstand pressure from behind. Skipping this step may not seem like a big deal during installation, but it can lead to bulging or total collapse over time. For walls above 1.2 to 1.5 metres, geogrid isn’t just helpful, it’s often required to meet safety standards.
Not Checking Local Rules
In New Zealand, local councils often require consent for retaining walls over 1.5 metres in height. Some councils may also have regulations for walls near property boundaries or public land. Failing to check these requirements before you build can lead to forced removal, fines, or rework. Always check with your local council or building authority before starting any large retaining wall project. This is especially important for urban areas like Auckland, Wellington, or Christchurch, where land use rules may be strict.
Avoiding these mistakes is key to building a safe, long-lasting keystone wall. With proper drainage, a solid base, the right reinforcement, and council approval, you can complete your project with confidence. This advice applies whether you’re doing a DIY keystone wall or working with a professional. For more keystone wall tips and ways to prevent retaining wall failures in NZ, stay informed and always plan ahead.
DIY Vs. Hiring A Pro In NZ
When planning a keystone retaining wall, one of the biggest decisions you’ll face is whether to build it yourself or hire a professional. Both options have benefits, but the right choice depends on your budget, time, skills, and the complexity of the job. Here’s what you need to know before making a decision.
Cost Estimate For DIY Vs. Contractor
DIY retaining wall costs in NZ can range from $200 to $400 per metre, depending on the type of block, site conditions, and tools required. You’ll need to factor in gravel, geogrid (if needed), drainage pipe, adhesive, and possibly tool rentals. In comparison, hiring a professional contractor could cost between $500 to $900 per metre, which includes labour, materials, site preparation, and project management.
If your wall is under 1.5 metres, DIY may be a cost-effective option, especially if you already own some tools or are confident in your skills. But for taller, engineered walls, the added expense of a professional often pays off in durability and peace of mind.
Time, Effort, And Tools Needed
DIY keystone wall installation takes planning, patience, and physical effort. A small wall (3 to 5 metres long) might take a weekend for someone with basic skills, but larger or more complex builds can take several days or even weeks. You’ll need access to tools like a shovel, spirit level, compactor, string line, wheelbarrow, and cutting saw. If you’re working on sloped terrain or dealing with clay-heavy soil, expect more prep time.
Beyond physical work, you also need to research local council rules, understand drainage systems, and ensure structural integrity. If that feels overwhelming, bringing in an expert can save you from costly errors.
When To Call A Professional
You should consider hiring a pro if your wall:
- Exceeds 1.5 metres in height (which may require council consent)
- Is part of a major landscaping project
- Needs to retain heavy soil or deal with water runoff
- Will be close to property boundaries or underground utilities
Professional retaining wall builders in NZ know how to navigate local rules, ensure proper drainage, and use the right reinforcements. They also understand how to handle tricky terrain, such as slopes or uneven soil, which can make or break the wall’s stability.
How To Choose A Reliable Installer In NZ
When searching for keystone wall contractors NZ, ask for:
- Proof of previous work (photos or client references)
- An itemised quote with labour and materials clearly listed
- Insurance coverage and building certification (if required)
- A timeline for project completion
You can also look for retaining wall builders NZ on trusted directories like Builderscrack, NoCowboys, or local Facebook groups. Be wary of quotes that seem too low, they may cut corners or lack experience with keystone systems.
In short, doing it yourself can save money, but hiring a professional adds long-term value. Whether you go the DIY route or bring in an expert, make sure your decision fits your budget, timeline, and confidence level.
Keystone Suppliers In New Zealand
If you’re planning a retaining wall project, finding reliable keystone block suppliers in New Zealand is a key step. The good news is you have several trusted options across the country, whether you’re shopping online or visiting a local store. Three well-known names stand out: Firth, Mitre 10, and Bunnings.
- Firth is a leading concrete product manufacturer in NZ, offering high-quality keystone blocks suited for a wide range of landscaping and retaining wall needs. Their blocks are engineered for strength and durability, and they provide detailed installation resources on their website. Firth is a good option if you’re looking for consistency in block sizing and want to buy from a specialist.
- Mitre 10 is a favorite for both DIYers and tradies, with locations throughout New Zealand. They stock a variety of keystone wall blocks that are easy to install and often come with installation guides. One benefit of shopping at Mitre 10 is the ability to speak with in-store staff about what type of block is best for your project.
- Bunnings is another top choice, offering affordable keystone block options that work well for basic retaining walls and garden edging. Bunnings stores are widely accessible, and many branches have physical displays so you can see the block texture and color before you buy. If you’re searching online, “keystone blocks Bunnings” is a common search phrase to find the latest in-stock options.
Before choosing a supplier, take time to compare block prices, availability, and delivery costs. Some suppliers offer free site delivery if you meet a minimum spend, while others may charge extra depending on your location. Also, check if the blocks are compatible with your wall design. For example, certain block types have built-in pin systems for extra strength, while others may need geogrid reinforcement.
Ready to get started with your keystone installation project? Visit us to explore trusted solutions, expert tips, and tools to help you build a strong, long-lasting retaining wall in NZ.
FAQs: About Keystone Installation In NZ
What are keystone blocks used for in New Zealand?
Keystone blocks are commonly used for building retaining walls, garden edging, and erosion control on sloped land. They’re popular in NZ because they are strong, weather-resistant, and easy to install.
Do I need council consent to build a keystone retaining wall?
In most parts of New Zealand, you don’t need council consent for retaining walls under 1.5 metres high. However, local regulations vary, so it’s best to check with your local council before starting.
Can I install keystone blocks myself, or should I hire a professional?
If the wall is under 1.5 metres and the ground is level, many DIYers in NZ complete the project themselves. For taller or sloped installations, it’s safer to hire a professional.
How much does a keystone retaining wall cost in NZ?
Costs vary by wall height and materials, but expect to pay between $250 and $500 per metre including blocks, gravel, and drainage. Labour adds more if hiring a contractor.
What tools and materials do I need for keystone installation?
Basic tools include a shovel, level, string line, wheelbarrow, and compactor. Materials include keystone blocks, drainage pipe, crushed gravel, adhesive, and optional geogrid.
How deep should the base be for a keystone wall?
The base trench should be at least 150mm–200mm deep and filled with compacted gravel to create a level and stable foundation for the first row of blocks.
What’s the most common mistake people make when installing keystone blocks?
The most common mistake is not creating a level base. If the first row is uneven, the entire wall will be unstable. Other issues include poor drainage and skipping reinforcement like geogrid.
Are keystone blocks available at major NZ suppliers?
Yes. You can find keystone blocks at Bunnings, Mitre 10, Firth, and other local landscape suppliers. Be sure to compare block types and delivery options.
How long do keystone retaining walls last?
With proper installation and drainage, keystone retaining walls can last 30+ years. Their interlocking design and concrete composition make them highly durable.
Can I build a keystone wall next to my neighbour’s fence?
You can, but it’s wise to talk to your neighbour first and check property boundaries. If the wall affects shared land or fencing, legal agreements or council input may be required.
Conclusion
Keystone installation in NZ doesn’t need to be complicated when you take the time to plan properly, prepare a solid base, and include drainage in every step. These three elements, good planning, a level foundation, and proper water management, are what separate long-lasting retaining walls from those that fail early. Whether you’re tackling a weekend DIY project or considering professional help, taking action now will save you time, stress, and money later. If you’re ready to start your keystone wall project, visit our homepage to explore our services, get expert guidance, or request a quote tailored to your site.
About the Author:
Mike Veail is a recognized digital marketing expert with over 6 years of experience in helping tradespeople and small businesses thrive online. A former quantity surveyor, Mike combines deep industry knowledge with hands-on expertise in SEO and Google Ads. His marketing strategies are tailored to the specific needs of the trades sector, helping businesses increase visibility and generate more leads through proven, ethical methods.
Mike has successfully partnered with numerous companies, establishing a track record of delivering measurable results. His work has been featured across various platforms that showcase his expertise in lead generation and online marketing for the trades sector.
Learn more about Mike's experience and services at https://theleadguy.online or follow him on social media: