
Welcome to your ultimate guide on building a retaining wall on a slope! If you’ve ever dreamed of transforming that challenging, sloped backyard into a functional and beautiful space, you’re in the right place. Retaining walls not only prevent soil erosion and manage water runoff but also create stunning, usable areas in your landscape. In this guide, we’ll walk you through everything you need to know—from planning and choosing materials to step-by-step construction and maintenance tips—so you can confidently tackle this rewarding project. Whether you’re a seasoned DIY enthusiast or just starting out, this comprehensive guide is designed to help you build a retaining wall that stands the test of time and enhances your outdoor space.
Building a retaining wall on a slope involves careful planning, choosing the right materials, and following key construction steps to ensure stability and durability. Start by assessing the slope, digging a proper foundation, and installing effective drainage. Use staggered layers for added strength, and finish with proper backfilling and landscaping to create a functional and aesthetically pleasing space. Whether you’re a DIYer or hiring a professional, these steps will help you successfully transform your sloped terrain into a more usable area.
- Understanding The Basics: What Is A Retaining Wall?
- Planning Your Retaining Wall
- Materials Needed For Building A Retaining Wall
- Step-By-Step Guide To Building A Retaining Wall On A Slope
- Common Mistakes To Avoid
- Maintenance Tips For Longevity
- FAQs: About Building A Retaining Wall On A Slope
- Can I build a retaining wall on a slope by myself, or should I hire a professional?
- What is the best material to use for a retaining wall on a slope?
- How deep should the foundation be for a retaining wall on a slope?
- Do I need a drainage system behind the retaining wall?
- What are the common mistakes to avoid when building a retaining wall on a slope?
- How high can I build a retaining wall without needing a permit?
- How long does it take to build a retaining wall on a slope?
- How do I ensure my retaining wall will last for many years?
- What are the signs that my retaining wall might be failing?
- Can I landscape around my retaining wall to enhance its appearance?
- Conclusion
Understanding The Basics: What Is A Retaining Wall?
A retaining wall is a sturdy structure built to hold or retain soil behind it. The primary purpose of a retaining wall is to prevent soil erosion, manage water runoff, and create usable land in areas with steep terrain. Retaining walls are essential in both residential and commercial landscaping, particularly in regions where the natural slope of the land could lead to issues like landslides, flooding, or soil erosion.
Types of Retaining Walls
Retaining walls come in various forms, each designed to address specific needs based on the landscape’s characteristics. Here’s a brief overview of the most common types:
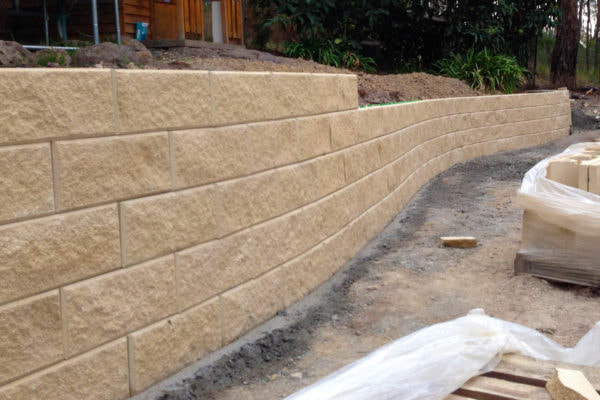
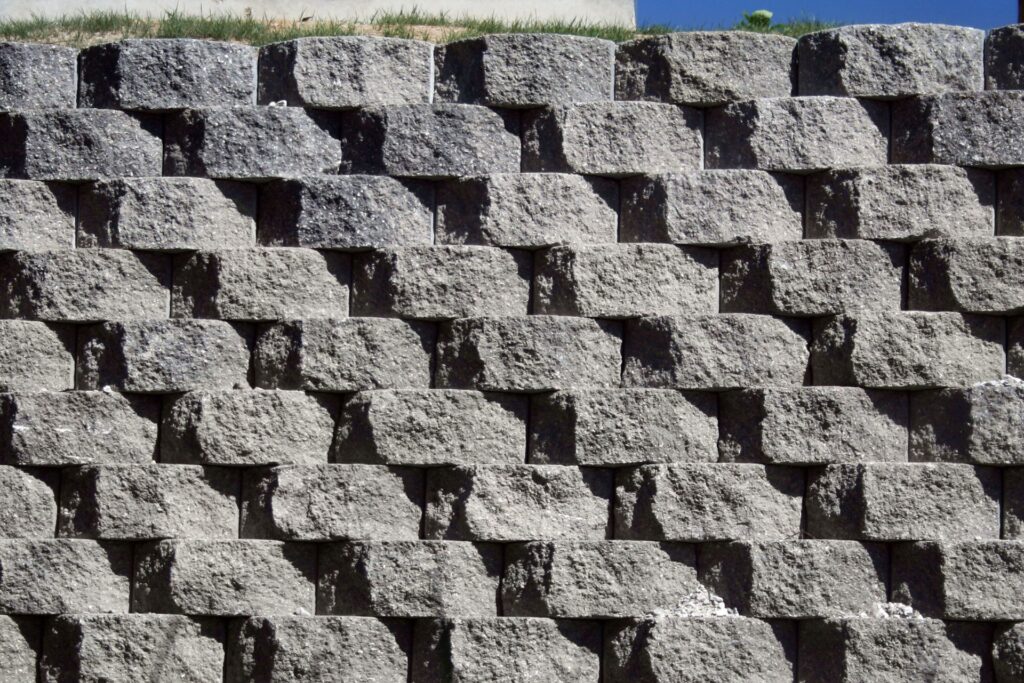
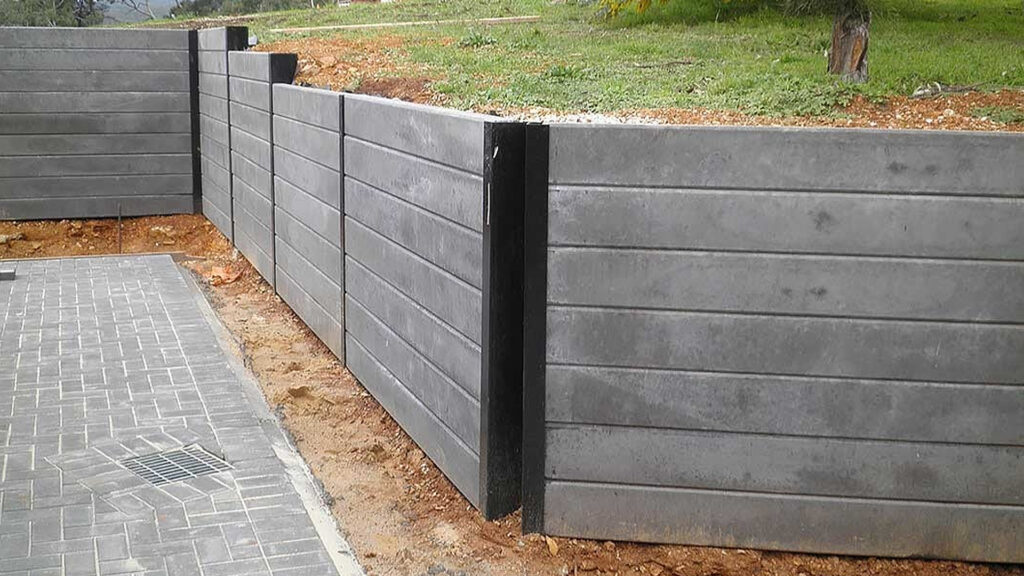
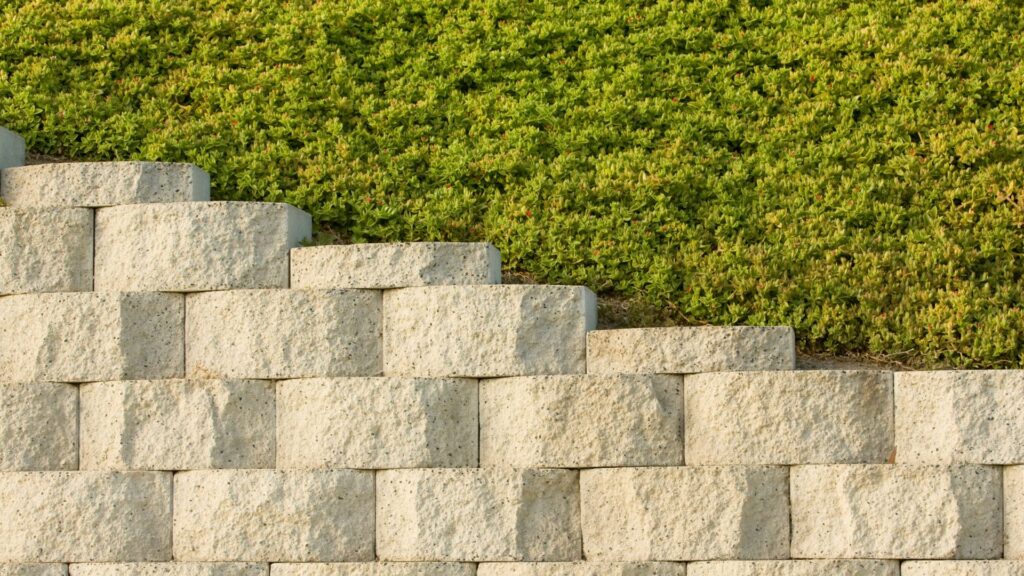
1. Gravity Retaining Walls: These are the simplest form of retaining walls, relying on their sheer weight to resist the pressure from the soil behind them. Made from heavy materials like stone, concrete, or brick, gravity walls are ideal for low to moderate height applications.
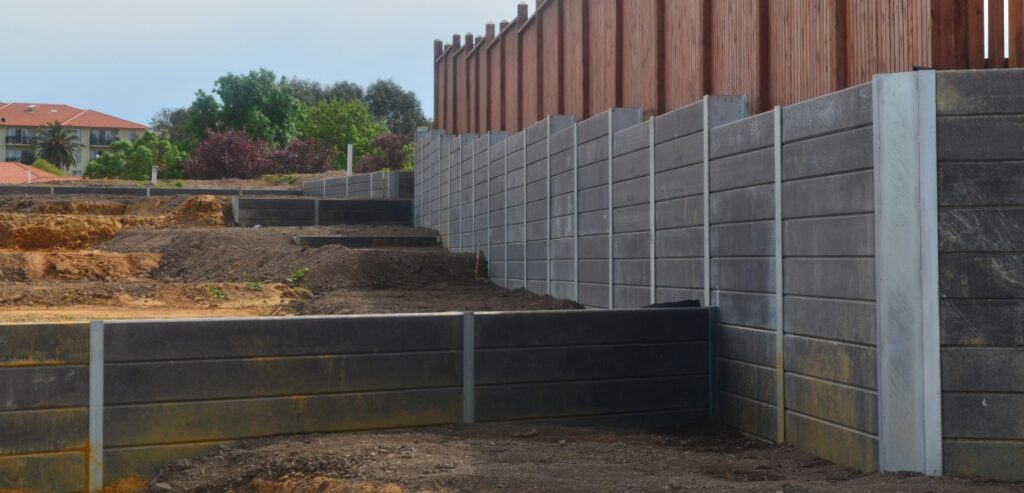
2. Cantilevered Retaining Walls: Often seen in commercial projects, cantilevered walls use a reinforced concrete structure shaped like an “L.” The horizontal foot of the “L” extends back into the earth, using the weight of the soil itself to stabilize the wall. These walls are more complex but provide excellent support for taller slopes.
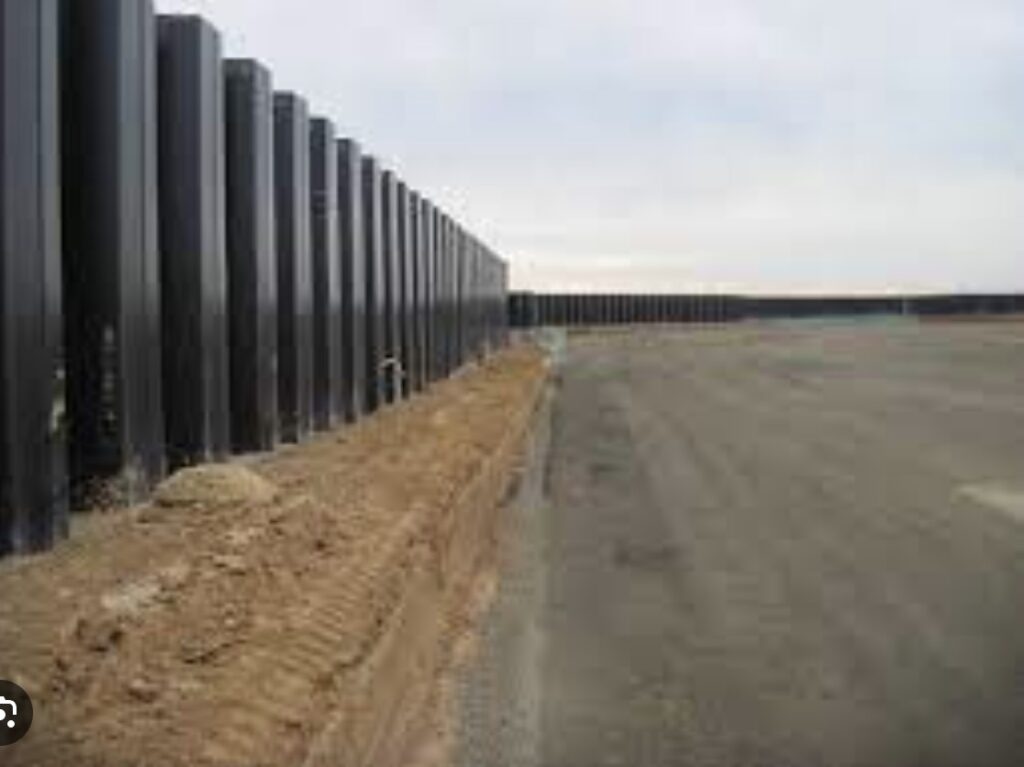
3. Anchored Retaining Walls: As the name suggests, anchored walls use anchors driven deep into the soil behind them to provide additional support. This type of wall is typically used in situations where the retaining wall must bear a heavy load or where space is limited.
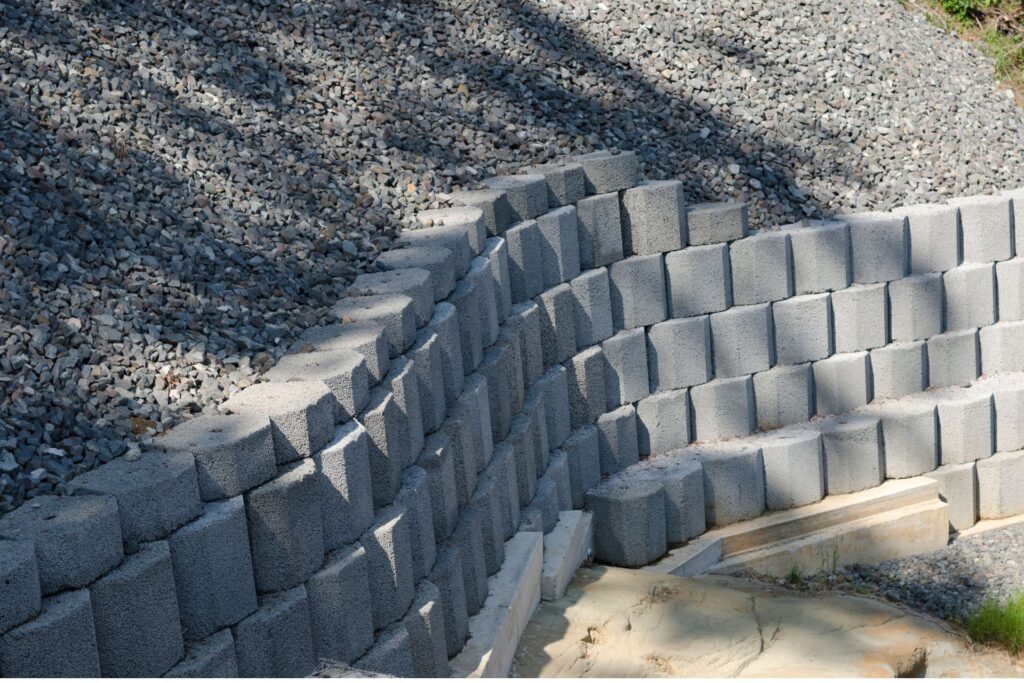
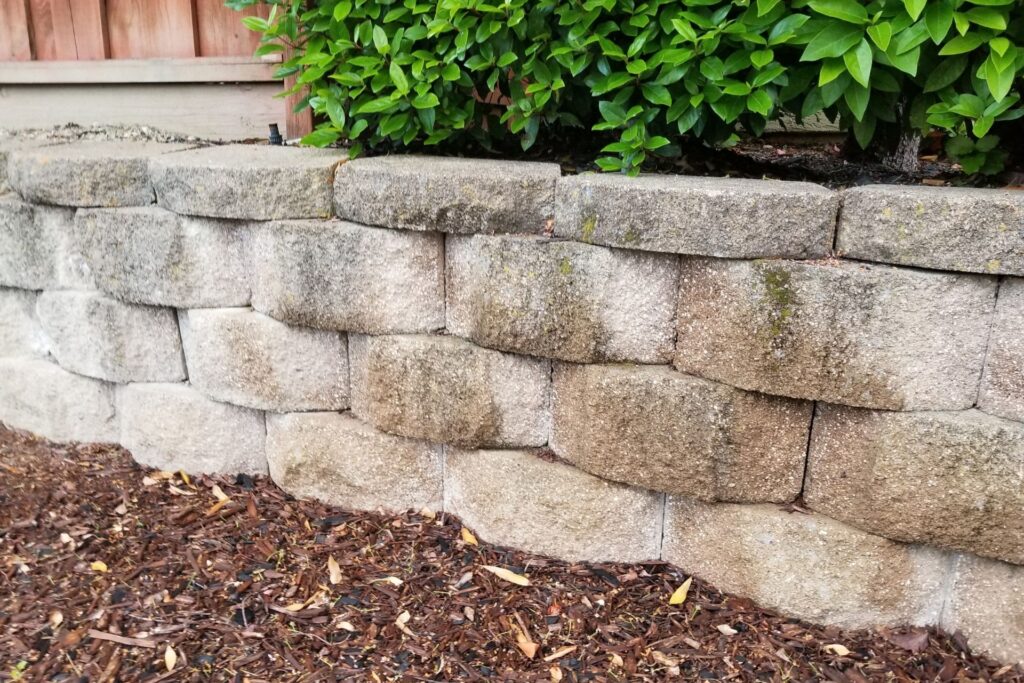
4. Segmental Retaining Walls: These are made from interlocking blocks that do not require mortar. They offer flexibility and are often used in landscaping for aesthetic purposes. These walls are particularly popular for their ease of installation and durability.
Common Uses of Retaining Walls
Retaining walls are commonly used in various scenarios, particularly on sloped terrains where their benefits are most evident:
- Slope Stabilization: Retaining walls prevent soil from shifting or eroding, which is crucial in areas prone to landslides or erosion due to rainfall or seismic activity.
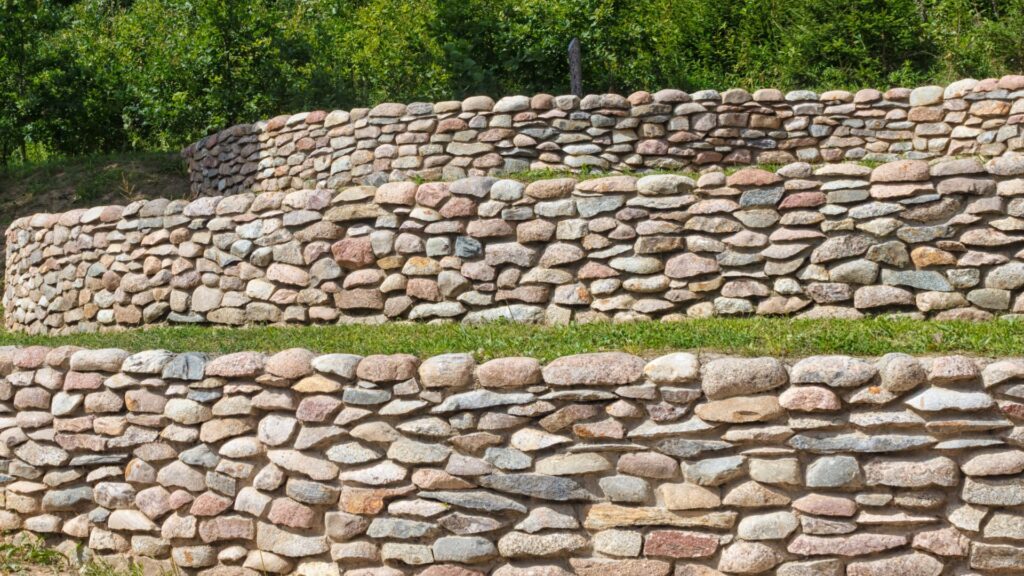
- Creating Usable Space: In hilly or uneven landscapes, retaining walls can be used to level the ground, creating terraces for gardens, patios, or additional building areas.
- Preventing Flooding: On slopes, retaining walls help manage water runoff, directing it away from buildings and reducing the risk of flooding or water damage.
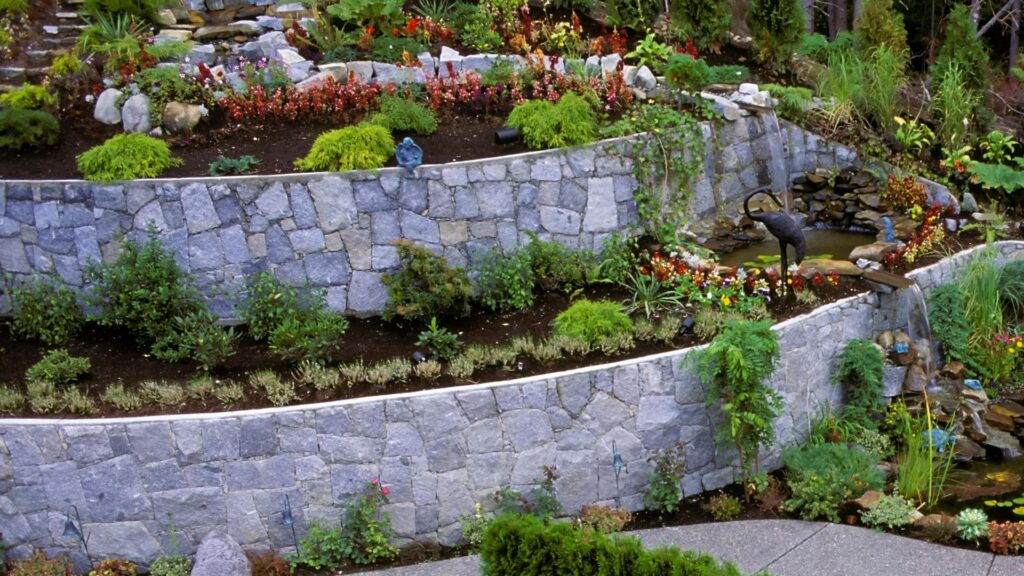
- Aesthetic Enhancement: Beyond their functional benefits, retaining walls can add visual appeal to a property. They can be used to create garden beds, separate outdoor spaces, or simply add a decorative element to the landscape.
In summary, retaining walls are versatile structures essential for managing sloped terrains. Whether it’s stabilizing a hillside, preventing erosion, or enhancing the visual appeal of a landscape, retaining walls play a crucial role in both residential and commercial settings.
Planning Your Retaining Wall
When planning a retaining wall, thorough preparation is essential to ensure the project is successful, safe, and aesthetically pleasing. This guide will walk you through the critical steps you need to take before breaking ground. From assessing your slope to understanding local regulations, we’ll cover everything you need to know.
Assessing Your Slope
Before starting any retaining wall project, it’s crucial to evaluate the slope of the area where the wall will be built. This assessment involves three main factors: the angle of the slope, the type of soil, and drainage conditions.
1. Slope Angle: The angle of your slope determines the height and stability required for your retaining wall. A steeper slope typically demands a taller and more reinforced wall. You can measure the slope using basic tools like a level and tape measure, or for more accuracy, a digital inclinometer.
2. Soil Type: The type of soil on your property plays a significant role in your wall’s design. For instance, sandy soil drains well but lacks stability, while clay soil retains moisture and may exert more pressure on your wall. Understanding your soil type helps in choosing the right materials and construction techniques.
3. Drainage Considerations: Proper drainage is crucial to prevent water buildup behind the wall, which can cause structural failure. Evaluate how water flows on your property and consider installing drainage pipes or gravel backfill to manage water effectively.
Design Considerations
Once you’ve assessed the slope, it’s time to focus on the design of your retaining wall. The design should harmonize with your landscape while fulfilling its functional purpose.
1. Wall Height and Length: The height and length of your wall are determined by the slope’s severity and your landscape goals. Higher walls may require multiple tiers to reduce pressure and improve stability. Ensure the wall’s dimensions align with the overall layout of your outdoor space.
2. Material Selection: The materials you choose—whether it’s natural stone, concrete blocks, or wood—will affect the wall’s appearance and durability. Consider factors like maintenance, longevity, and how the material blends with your landscape.
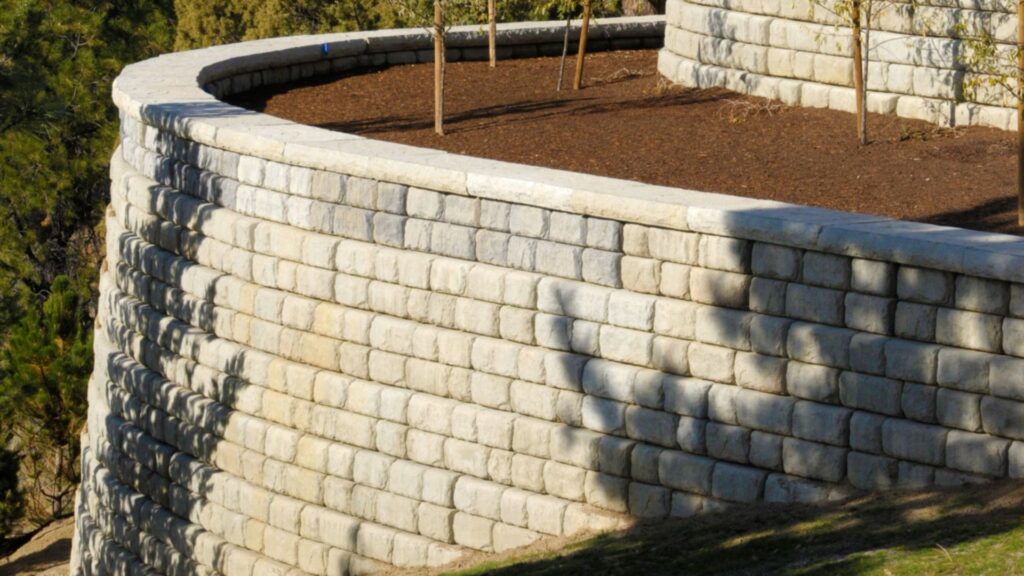
3. Aesthetic Design: Beyond function, think about how the wall will complement your outdoor space. Incorporate curves, terraces, or integrated planters to create a wall that’s not only practical but visually appealing.
Local Regulations and Permits
Before starting construction, it’s crucial to check local building codes and regulations. Most areas have specific guidelines for retaining walls, especially those over a certain height. Failing to comply with these rules can result in fines, or worse, having to dismantle your wall.
1. Building Codes: These codes often dictate maximum wall height, setback distances from property lines, and necessary safety features like railings. Some regions require engineering approval for walls over a certain height.
2. Permits: Depending on your location, you may need a permit to build a retaining wall. This process typically involves submitting your design plans for approval. Obtaining the necessary permits ensures your project complies with local standards and avoids legal complications.
3. Homeowners Association (HOA) Rules: If you live in a community governed by an HOA, check their guidelines. They may have additional restrictions or aesthetic requirements for retaining walls.
Hiring a Professional vs. DIY
Deciding whether to hire a professional or tackle the project yourself depends on the wall’s complexity and your skill level.
1. DIY Considerations: Building a small retaining wall can be a rewarding DIY project if you have basic construction skills. Simple walls under three feet tall, especially with easily manageable materials like interlocking blocks, are often within reach for most homeowners.
2. When to Hire a Professional: For larger or more complex projects—such as walls over four feet high, those on steep slopes, or those requiring significant drainage work—it’s wise to hire a professional. A qualified contractor can ensure the wall is structurally sound, complies with local regulations, and handles all necessary permits.
3. Cost vs. Benefit: While DIY may save money upfront, a poorly constructed wall can lead to costly repairs down the line. Hiring a professional often provides peace of mind and long-term savings through quality workmanship.
Planning your retaining wall carefully is essential for a successful project that enhances your landscape and lasts for years. By assessing your slope, considering design factors, adhering to local regulations, and knowing when to seek professional help, you set the foundation for a retaining wall that meets your needs and adds value to your property.
Materials Needed For Building A Retaining Wall
Building a retaining wall is an essential project for many homeowners and landscapers, whether it’s to prevent soil erosion, create a level area on a sloped yard, or enhance the visual appeal of outdoor spaces. A crucial part of ensuring the success and longevity of your retaining wall is selecting the right materials. This guide will walk you through the different material options available, along with the additional supplies needed for construction.
Choosing the Right Material for Your Retaining Wall
When it comes to building a retaining wall, selecting the appropriate material is key. Your choice should align with your budget, desired aesthetics, and the specific requirements of your project. Here’s an overview of the most common materials used for retaining walls:
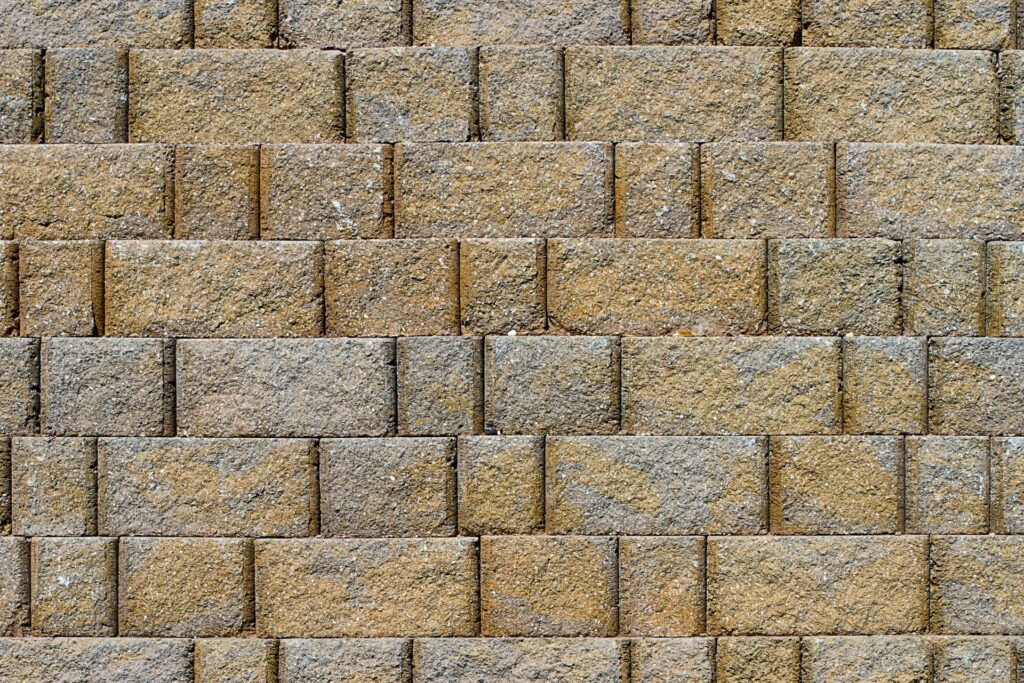
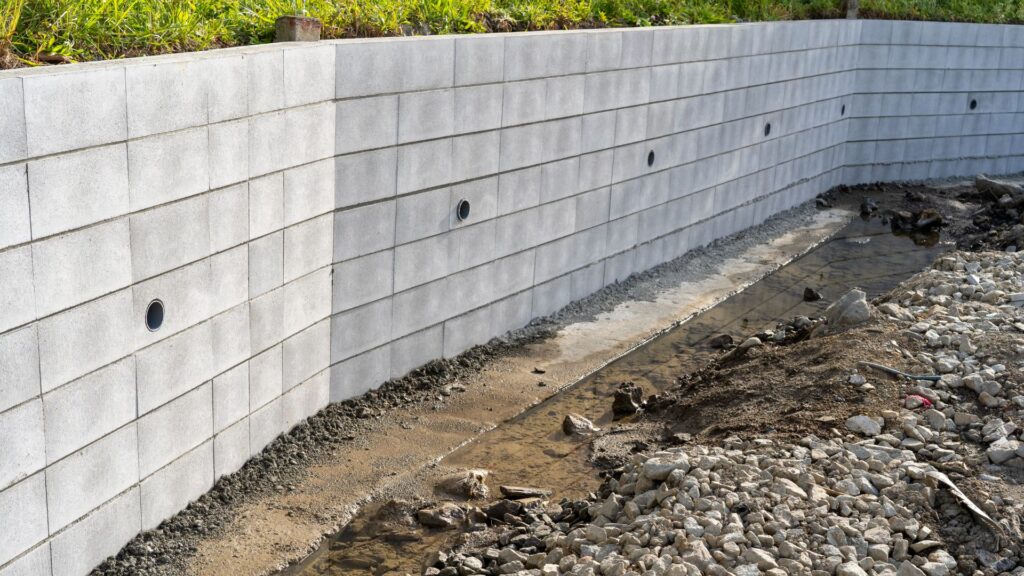
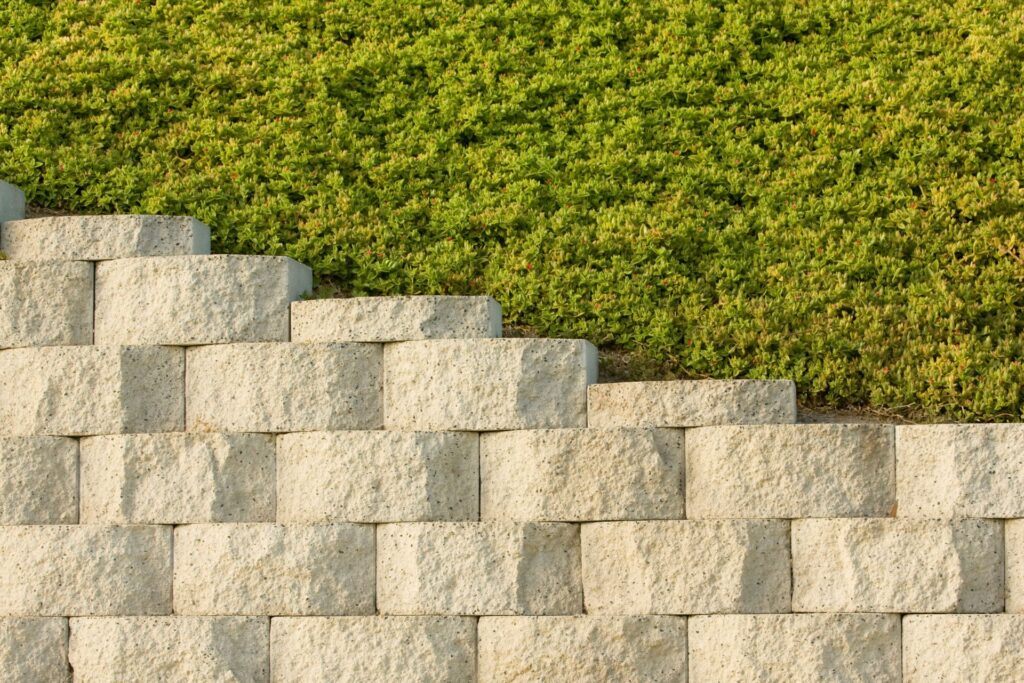
1. Concrete Blocks
- Overview: Concrete blocks are a popular choice due to their durability and ease of installation. They are available in various shapes, sizes, and colors, allowing for versatility in design.
- Pros: Highly durable, low maintenance, resistant to weather conditions, and can be easily stacked to create a strong structure.
- Cons: Can be expensive, particularly for large projects. They also require a solid foundation and proper drainage to prevent shifting over time.
- Best For: Projects where long-term durability and strength are critical, such as supporting large slopes or heavy loads.
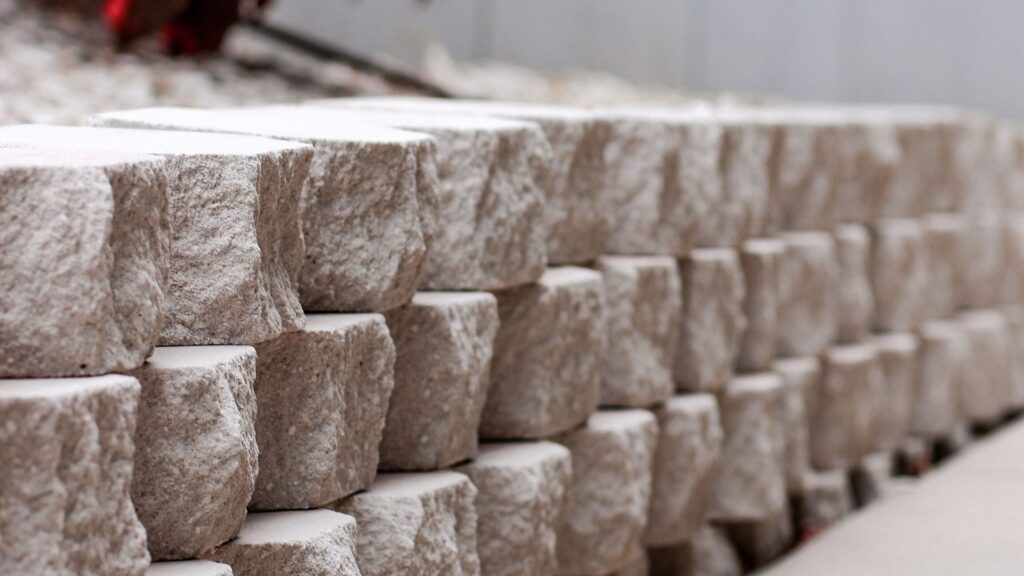
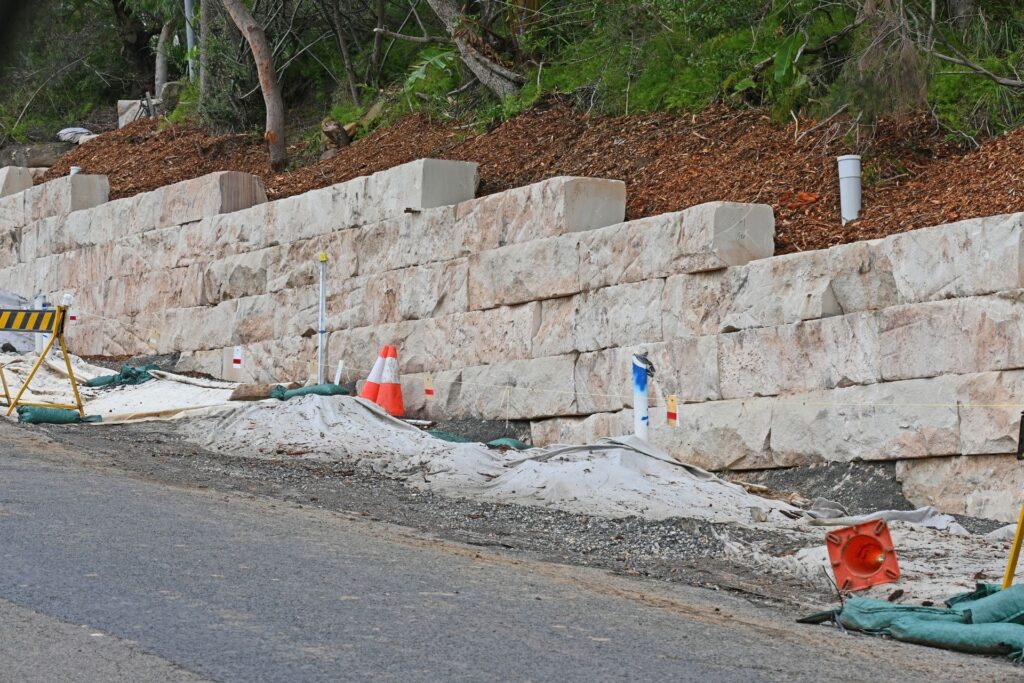
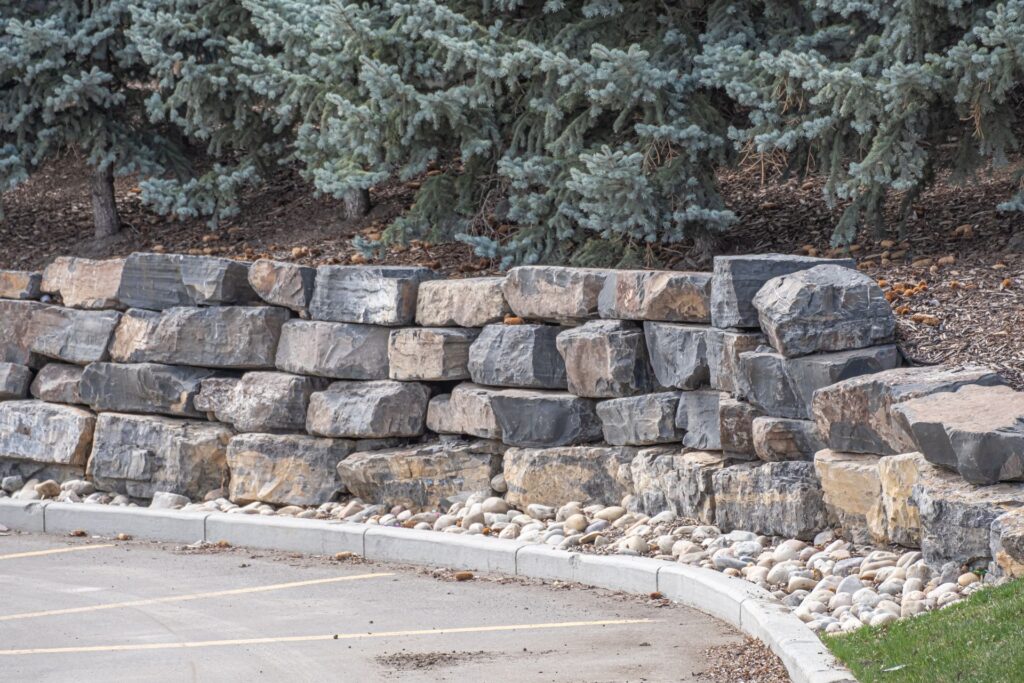
2. Natural Stone
- Overview: Natural stone offers a timeless and elegant appearance. Each stone is unique, contributing to a natural and rustic look.
- Pros: Visually appealing, blends well with natural landscapes, extremely durable, and offers excellent longevity.
- Cons: More expensive than other materials, heavy to work with, and requires skilled labor for proper installation.
- Best For: High-end landscaping projects where aesthetics are a top priority, or where the wall needs to blend seamlessly with the surrounding environment.
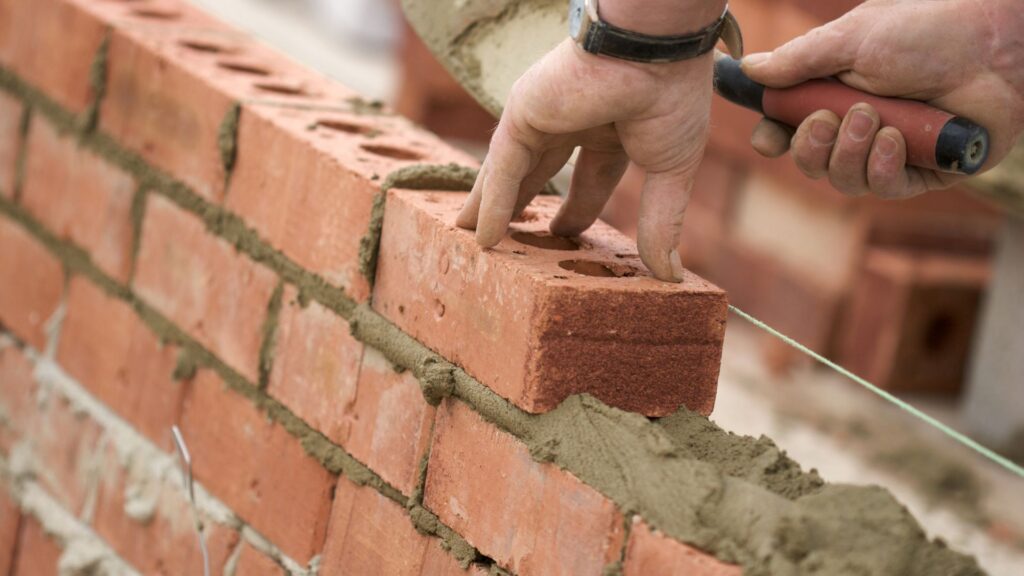
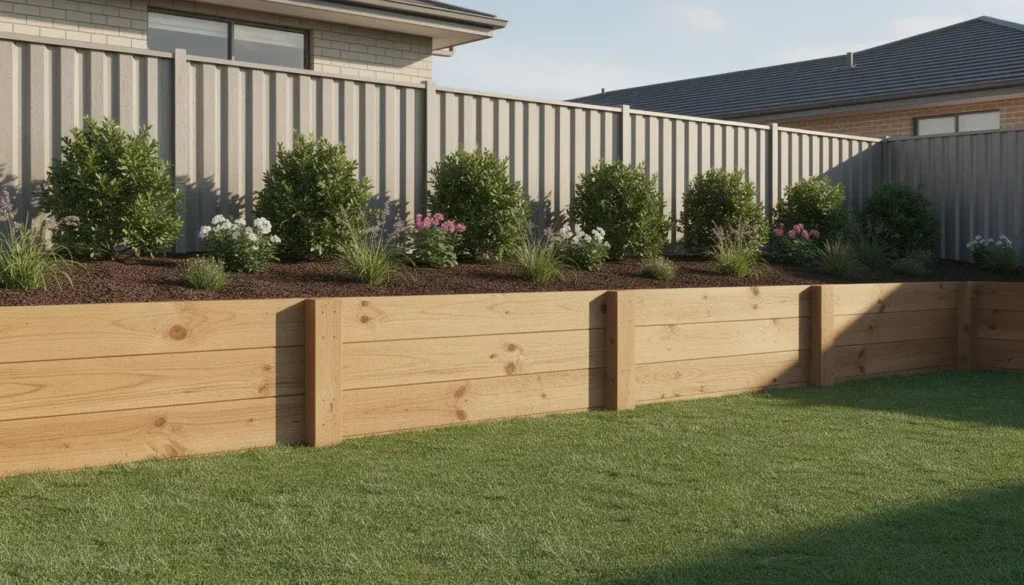
3. Timber
- Overview: Timber, especially treated wood, is a cost-effective and straightforward material for retaining walls. It’s ideal for smaller projects and DIY enthusiasts.
- Pros: Relatively inexpensive, easy to work with, and provides a natural look that complements outdoor spaces.
- Cons: Less durable compared to stone or concrete, susceptible to rot, insect damage, and weathering over time. Regular maintenance is required.
- Best For: Short-term or small-scale projects, garden beds, or areas with minimal soil pressure.
4. Gabion
- Overview: Gabion walls are made from wire mesh cages filled with stones or other materials. They are gaining popularity for their unique appearance and sustainability.
- Pros: Flexible design, allows for drainage, relatively easy to install, and can use recycled materials.
- Cons: The wire mesh may corrode over time, especially if not properly treated, and the appearance might not appeal to everyone.
- Best For: Eco-friendly projects, areas requiring high drainage, or modern landscapes where a distinctive look is desired.
Additional Supplies for Building a Retaining Wall
Apart from the main building materials, there are several other supplies and tools that are essential for constructing a retaining wall. These items ensure the wall’s structural integrity, proper drainage, and long-term durability.
- Gravel: Used for backfilling and as a base layer, gravel provides crucial drainage, preventing water from building up behind the wall, which could lead to failure.
- Drainage Pipes: Installing perforated drainage pipes at the base of the wall helps direct water away from the structure, reducing hydrostatic pressure and prolonging the wall’s life.
- Level: A level is necessary to ensure that each layer of the wall is even, which is critical for both the wall’s stability and appearance.
- Compacting Tools: Properly compacting the soil and gravel behind and beneath the wall is essential to prevent shifting and settling over time.
- Landscape Fabric: This material is placed between the soil and the backfill to prevent soil from clogging the drainage gravel, ensuring water can flow freely.
Constructing a retaining wall is more than just stacking stones or blocks; it requires careful planning, the right materials, and the proper tools. By selecting materials that suit your project’s needs and ensuring you have all the necessary supplies, you can build a retaining wall that not only serves its functional purpose but also enhances the beauty of your outdoor space. Whether you choose the enduring strength of concrete, the natural appeal of stone, the rustic charm of timber, or the innovative design of gabion, each option offers unique benefits that can meet a range of needs and preferences.

Step-By-Step Guide To Building A Retaining Wall On A Slope
Constructing a retaining wall on a slope can be a transformative project for your landscape, providing both function and aesthetic appeal. Follow this comprehensive guide to ensure your wall is both sturdy and visually pleasing. Each step is designed to help you achieve a professional-quality retaining wall, even if you’re tackling it as a DIY project.
Step 1: Preparing the Site
The first and most crucial step in building a retaining wall on a slope is proper site preparation. Begin by measuring the area where the wall will be constructed. Use stakes and string to mark out the boundaries of your wall, ensuring straight lines and accurate angles. Next, carefully excavate the slope, digging out a trench where the wall will sit. The depth of this trench will depend on the height of your wall, but it’s essential to dig deep enough to create a stable base. As you dig, make sure the trench is level from end to end; this is critical for the stability of your retaining wall.
Pro Tip: The trench should be about 6 to 12 inches deeper than the bottom of your first layer of blocks or stones. This allows room for a compacted base material that will support the weight of the wall.
Step 2: Laying the Foundation
A strong retaining wall starts with a solid foundation. Fill the trench with a layer of compacted gravel or crushed stone. This base layer should be at least 4 to 6 inches thick. Use a tamper or plate compactor to press the material down firmly, creating a level and stable foundation. The compacted gravel will help prevent shifting or settling over time, which is especially important on a slope.
Pro Tip: As you compact the gravel, continually check for levelness with a spirit level. A slight slope away from the wall can aid drainage, but the base itself must be consistently flat to support the weight of the wall.
Step 3: Building the First Row
The first row of blocks or stones is the most critical part of the entire wall. Start at the lowest point of the slope and work your way upward, ensuring each block is perfectly level both front to back and side to side. Use a rubber mallet to tap the blocks into place if needed. This row will set the foundation for the rest of the wall, so take your time and get it right.
Pro Tip: After laying the first row, backfill behind it with a layer of gravel or crushed stone. This provides additional support and helps with drainage.
Step 4: Stacking the Wall
With the first row in place, you can begin stacking the remaining blocks. Stagger each row by offsetting the blocks so that the seams do not line up with those in the row below. This technique, known as “running bond,” increases the strength of the wall. As you stack, backfill behind the wall with gravel or crushed stone, compacting it as you go. This prevents pressure from building up behind the wall, which could cause it to fail.
Pro Tip: Use landscape fabric between the backfill material and the soil to prevent the soil from clogging the drainage layer, ensuring long-term effectiveness.
Step 5: Installing Drainage
Proper drainage is vital to the longevity of your retaining wall, especially on a slope. Without it, water can build up behind the wall, leading to pressure that may cause the wall to buckle or collapse. Install perforated drainage pipes at the base of the wall, directing water away from the structure. Cover the pipes with gravel to allow water to flow freely while keeping debris out.
Pro Tip: Ensure that the drainage pipe slopes slightly away from the wall, allowing gravity to move water out and away from your structure efficiently.
Step 6: Finishing Touches
Once your retaining wall is built and the drainage is in place, add the finishing touches. Cap the wall with special cap blocks or stones to give it a polished look. These caps also help to hold the wall together and protect it from the elements. Finally, consider landscaping the area around your retaining wall. Planting ground cover, shrubs, or flowers can soften the look of the wall and integrate it into your overall landscape design.
Pro Tip: Use drought-resistant plants on the slope above the wall to minimize erosion and reduce the amount of water seeping behind the wall.
Building a retaining wall on a slope is a project that requires careful planning and execution, but the results can be truly rewarding. By following this step-by-step guide, you’ll create a strong, durable, and attractive retaining wall that not only serves its purpose but also enhances the beauty of your outdoor space. Remember, attention to detail at each stage is key to ensuring the long-term success of your retaining wall.

Common Mistakes To Avoid
When constructing a retaining wall, certain common mistakes can lead to significant issues, potentially compromising the wall’s structural integrity and longevity. Understanding these pitfalls can help you avoid costly repairs and ensure that your retaining wall stands the test of time. Here are three key mistakes to avoid:
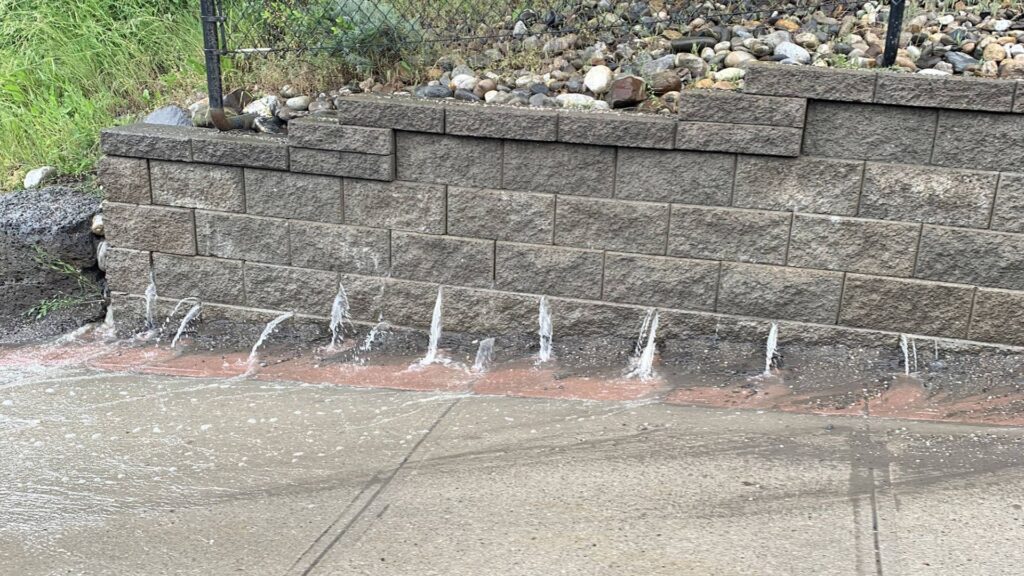
1. Improper Drainage
One of the most critical aspects of building a retaining wall is ensuring proper drainage. Water is a powerful force, and if not managed correctly, it can cause significant damage to your wall. Poor drainage leads to water accumulating behind the wall, creating hydrostatic pressure that can eventually cause the wall to bulge, crack, or even collapse. This is especially problematic in areas with heavy rainfall or clay-rich soils, which tend to retain moisture.
To avoid this mistake, incorporate drainage solutions like weep holes, gravel backfill, and perforated drainage pipes behind the wall. These components help to redirect water away from the wall, reducing the risk of pressure build-up. Additionally, ensure that the wall’s base is slightly angled to encourage water to flow away rather than pool behind it. By prioritizing proper drainage, you can significantly extend the life of your retaining wall and prevent costly damage.
2. Skipping the Foundation
A solid foundation is the cornerstone of any successful retaining wall. Skipping or inadequately preparing the foundation is a common mistake that can lead to severe problems over time. Without a stable base, the wall is more likely to shift, settle, or even fail, particularly under the pressure of the soil it is designed to hold back.
To build a proper foundation, start by excavating below the frost line to prevent movement during freeze-thaw cycles. Then, lay a base of compacted gravel or crushed stone to provide a stable, level surface. This base layer should be deep enough to support the weight of the wall and wide enough to extend beyond the wall’s footprint on both sides. Cutting corners on the foundation might save time and money initially, but it will likely lead to more significant expenses and headaches in the future.
3. Ignoring Local Codes
Building codes and regulations exist for a reason—they are designed to ensure safety and structural integrity. Unfortunately, some people overlook or ignore these rules, either out of ignorance or a desire to save time and money. However, failing to adhere to local building codes can result in fines, legal issues, and even the need to dismantle and rebuild your wall.
Before starting construction, consult your local building authority to understand the specific requirements for retaining walls in your area. These may include restrictions on wall height, setback distances, and materials. In some cases, you may also need to obtain a permit or have your plans reviewed by a structural engineer. By complying with local codes from the outset, you can avoid legal complications and ensure that your retaining wall is safe, effective, and built to last.
Avoiding these common mistakes—improper drainage, skipping the foundation, and ignoring local codes—can make a significant difference in the longevity and effectiveness of your retaining wall. By taking the time to do things right the first time, you’ll not only save yourself from future repairs but also ensure that your wall provides the necessary support and protection for years to come.
Maintenance Tips For Longevity
Proper maintenance is crucial to ensuring the long-term durability of your retaining wall. By regularly inspecting and caring for your wall, you can prevent minor issues from escalating into costly repairs. Below are some essential tips to help you maintain your retaining wall and extend its lifespan.
Regular Inspections
Regular inspections are the foundation of effective retaining wall maintenance. By routinely checking your wall, you can spot early signs of wear, shifting, or damage before they become serious problems.
1. Visual Inspection: Walk along the length of the wall, carefully examining it for cracks, bulges, or leaning. These are often the first indicators that something might be wrong. Cracks could signal settling or movement, while bulges or leaning could indicate pressure buildup behind the wall.
2. Foundation Check: Inspect the base of the wall for any signs of erosion or soil movement. A compromised foundation can lead to significant structural issues. If you notice any gaps between the wall and the ground, or if the base appears uneven, it might be time to consult a professional.
3. Structural Elements: If your wall has any visible reinforcement elements like anchors or tiebacks, ensure they are secure and free of rust or corrosion. Loose or damaged reinforcements can severely compromise the wall’s stability.
Managing Water Flow
Water is one of the most significant factors affecting the integrity of a retaining wall. Proper drainage is essential to prevent water from accumulating behind the wall, which can increase pressure and lead to failure.
1. Drainage System: Regularly check the drainage system to ensure it’s functioning correctly. This includes inspecting weep holes, drainpipes, and gravel backfill for any blockages or signs of clogging. A clogged drainage system can cause water to build up behind the wall, increasing the risk of damage.
2. Surface Water Control: Ensure that water is not pooling at the top of the wall or around its base. Redirect runoff from gutters or downspouts away from the wall, and consider grading the area to slope away from the structure. This simple step can prevent unnecessary water accumulation.
3. Soil Saturation: After heavy rains, check the soil behind the wall for signs of excessive moisture. Saturated soil is heavier and exerts more pressure on the wall. If the ground remains soggy for extended periods, it may indicate drainage issues that need to be addressed immediately.
Seasonal Care
Different seasons bring unique challenges for retaining walls. Seasonal maintenance can help your wall withstand varying weather conditions and prevent damage related to temperature fluctuations.
1. Winter Preparation: Before winter arrives, inspect your wall for any existing cracks or weaknesses, as freezing and thawing cycles can exacerbate these issues. Water that enters cracks can freeze, expand, and cause further damage. Ensure the drainage system is clear to prevent water buildup that could freeze and increase pressure on the wall.
2. Spring Thaw: As the weather warms up and snow melts, monitor your wall for signs of shifting or movement. The ground may shift during the thaw, leading to potential problems. Address any issues promptly to avoid long-term damage.
3. Summer and Fall Maintenance: During warmer months, vegetation around the wall can become overgrown, potentially affecting the structure. Trim any plants or roots that are encroaching on the wall to prevent them from displacing soil or exerting pressure on the structure. Additionally, autumn is an excellent time to clear out any debris from the drainage system to prepare for winter.
By following these maintenance tips, you can ensure that your retaining wall remains sturdy and reliable for years to come. Regular inspections, proper water management, and seasonal care are key to maximizing the longevity of your wall and protecting your investment.
FAQs: About Building A Retaining Wall On A Slope
Can I build a retaining wall on a slope by myself, or should I hire a professional?
Yes, you can build a retaining wall on a slope yourself if you have basic construction skills, the right tools, and a clear understanding of the process. However, if the wall is taller than 4 feet or the slope is steep, it’s recommended to hire a professional to ensure structural integrity and compliance with local regulations.
What is the best material to use for a retaining wall on a slope?
The best material depends on your budget, aesthetic preference, and the height of the wall. Concrete blocks are a popular choice due to their durability and ease of use. Natural stone offers a more rustic look, while timber is cost-effective but may not last as long. For steeper slopes, gabion walls can be an excellent option.
How deep should the foundation be for a retaining wall on a slope?
The foundation should typically be about one-eighth of the total wall height. For example, if your wall is 4 feet high, the foundation should be at least 6 inches deep. This depth ensures stability and helps prevent shifting over time.
Do I need a drainage system behind the retaining wall?
Yes, proper drainage is crucial for retaining walls on a slope. Without adequate drainage, water can build up behind the wall, causing pressure that could lead to failure. Installing a drainage pipe and using gravel as backfill can help manage water flow and prevent damage.
What are the common mistakes to avoid when building a retaining wall on a slope?
Common mistakes include inadequate drainage, a poorly prepared foundation, ignoring local building codes, and not accounting for soil type. Each of these errors can compromise the wall’s stability and longevity.
How high can I build a retaining wall without needing a permit?
The height at which a permit is required varies by location, but generally, walls over 4 feet high require a permit. Always check with your local building authority before starting your project to ensure compliance with regulations.
How long does it take to build a retaining wall on a slope?
The time required depends on the size of the wall, the materials used, and whether you’re working alone or with help. For a small DIY project, expect it to take anywhere from a weekend to a few weeks. Larger walls, especially those requiring professional input, can take longer.
How do I ensure my retaining wall will last for many years?
To ensure longevity, focus on proper site preparation, including a solid foundation and effective drainage. Use high-quality materials and follow best practices for construction, such as staggering blocks or stones and backfilling properly. Regular maintenance, like checking for shifting or drainage issues, also helps extend the wall’s lifespan.
What are the signs that my retaining wall might be failing?
Warning signs include visible cracks, bulging or leaning of the wall, water pooling at the base, or gaps between the blocks. If you notice any of these issues, it’s important to address them immediately to prevent further damage.
Can I landscape around my retaining wall to enhance its appearance?
Absolutely! Landscaping around your retaining wall can enhance both its appearance and functionality. Consider planting low-maintenance shrubs or ground cover on the slope above the wall, adding decorative gravel or mulch along the base, or incorporating steps or terraces into your design for added visual interest.
Conclusion
In conclusion, building a retaining wall on a slope is a project that requires careful planning and execution, but with the right approach, it can significantly enhance your outdoor space. By following the key steps—such as proper site assessment, selecting the right materials, ensuring adequate drainage, and constructing with stability in mind—you can achieve a functional and visually appealing result. Remember, while this task can be challenging, the rewards of creating a transformed landscape are well worth the effort. If you have any questions, personal experiences to share, or need further assistance, don’t hesitate to reach out or consult a professional to ensure your project’s success.